Console
Console serves as a centralized management interface for developers and their organizations. It allows administrators to configure, monitor, and control various aspects of authentication, digital signatures and integrations offered by pasby. This enables developers to set up authentication workflows, manage OAuth credentials, track activity, and monitor security settings to support secure digital identity management.
Here's a breakdown of typical features Console offers:
-
User & Organization Management: Administrators can manage user accounts, permissions, and roles within an organization. It also includes options to view or modify details about each user’s access level and security status.
-
Authentication Settings: Configuration options for single sign-on (SSO) settings, multi-factor authentication (MFA), OAuth integrations, and other authentication methods.
-
OAuth & API Management: Allows developers to set up OAuth clients, manage API keys, and monitor token usage for integrations with third-party applications. This is crucial for implementing seamless and secure user authentication flows.
-
Usage Analytics & Logs: Provides insights into user activities, login attempts, API usage, and other key metrics. Console may include tools for generating reports and viewing logs for monitoring authentication events and user access patterns.
-
Security Settings: Administrators can manage security protocols like token expiration times, cookie settings, and IP whitelisting. These settings help organizations tailor their security needs based on their risk assessment and compliance requirements.
-
Integration Management: A dashboard for integrating pasby with other applications and platforms, making it easier for organizations to leverage pasby for authentication and document signing within their existing software ecosystem.
-
Digital Signature Tools: For pasby docs, the console may also feature tools in the long run for managing digital signatures, such as setting signature requirements, tracking signature progress, and managing signed documents.
Console essentially functions as the control panel, allowing devs to manage and secure their digital identity workflows and documentation processes across various applications.
Organizations
An organization on pasby is a set of apps that use the same billing. Organizations allow one or more users to control billing and scope permissions for all applications belonging to the organization. An app always belongs to an organization. When you first create an organization it will have no applications associated to it.
Apps
An app on pasby belongs to a organization and acts as a standalone interface with national identities. An app relies on the organization's api keys but requires it's own client secret keys and private key for secure communication with pasby servers.
Setting up an app could be in either one of these two environments but not both;
- Production
- Sandbox
Client secret
An app secret otherwise client secret is a crucial component in the authentication process when interacting with pasby services. It serves as a unique identifier for your application and is used to ensure secure communication between your app and the pasby servers. Here are some key points about app secrets:
-
Security: The app secret is used in conjunction with your API keys to authenticate requests. It helps prevent unauthorized access to your application and its data.
-
Token Generation: When making requests to pasby services, the app secret is often required to generate access tokens. These tokens are essential for making secure API calls.
-
Environment Specific: Each app secret is specific to the environment (Production or Sandbox) in which your application operates. Ensure you use the correct secret for the corresponding environment to avoid authentication issues.
-
Confidentiality: It is vital to keep your app secret confidential. Do not expose it in client-side code or public repositories, as this could lead to security vulnerabilities.
-
Regeneration: If you suspect that your app secret has been compromised, you can regenerate it through the Console. This will invalidate the old secret and enhance your application's security.
By properly managing your app secret, you can ensure that your application communicates securely with pasby services, protecting both your data and your users' information.
Create an account
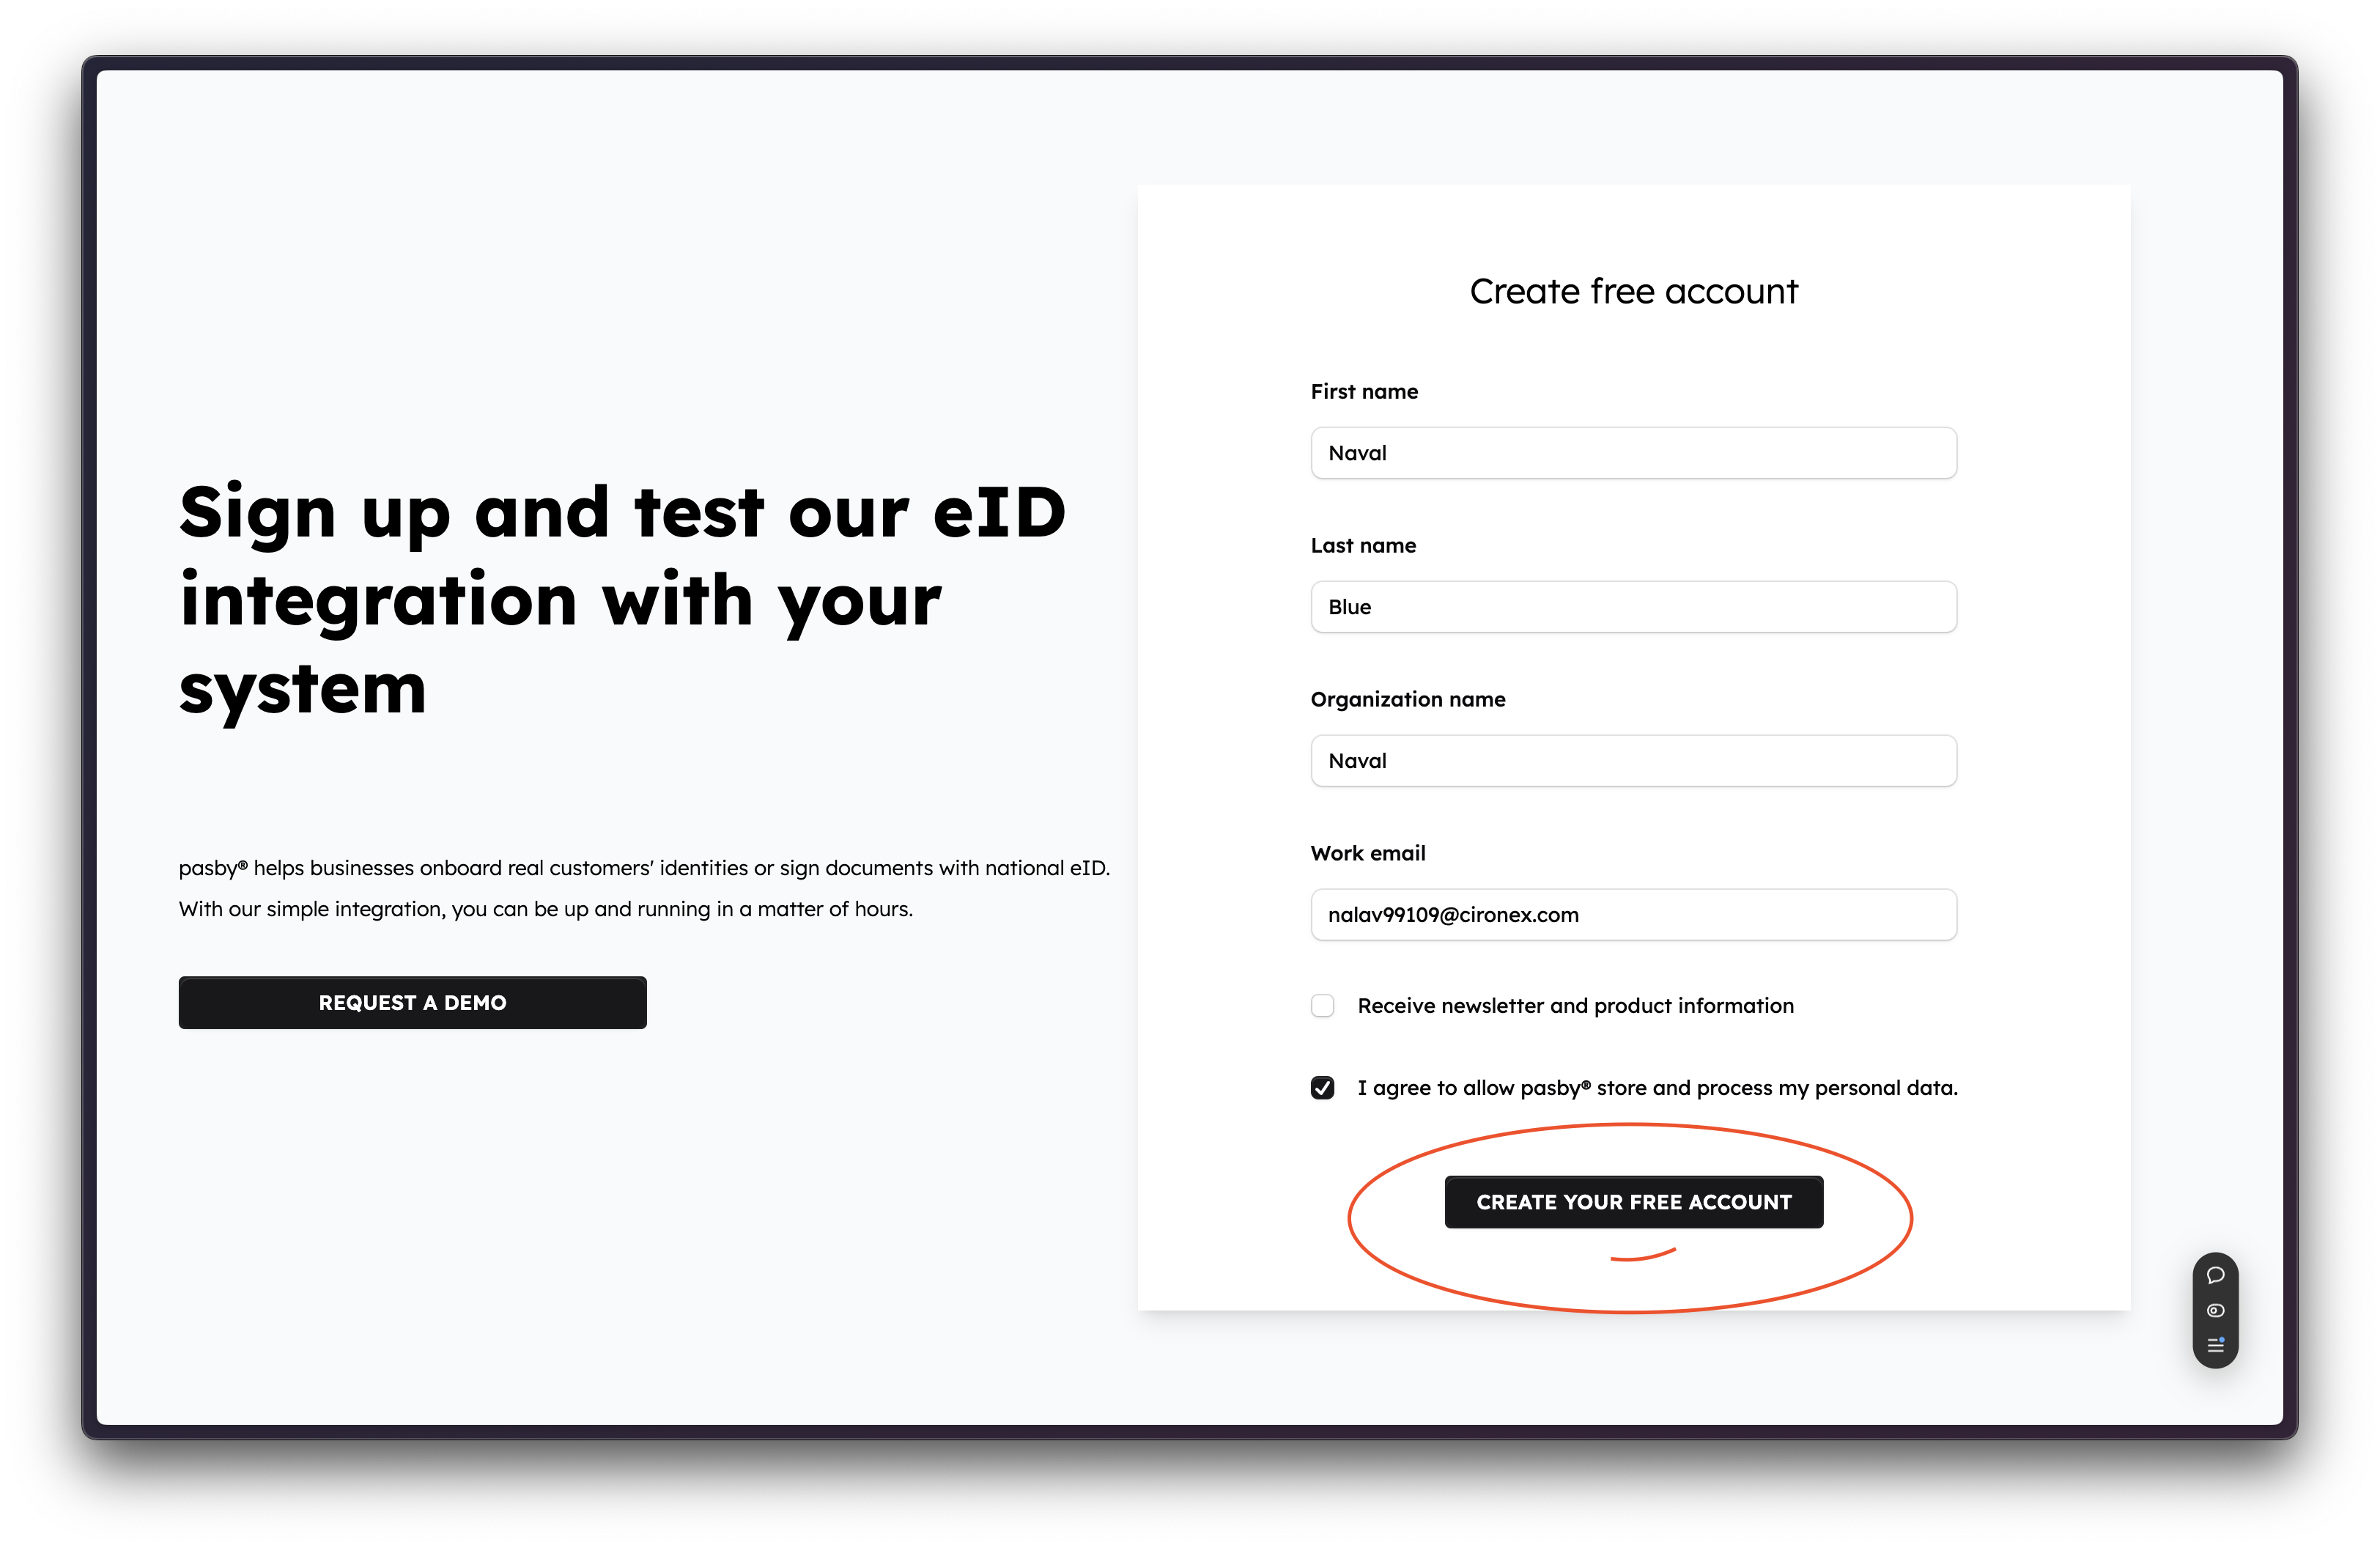
To get started with pasby you need to create a developer account at Console by following this link.
We let you create an account by email only - but right after that you need to have a pasby eID to fully continue with Console.
Create an organization
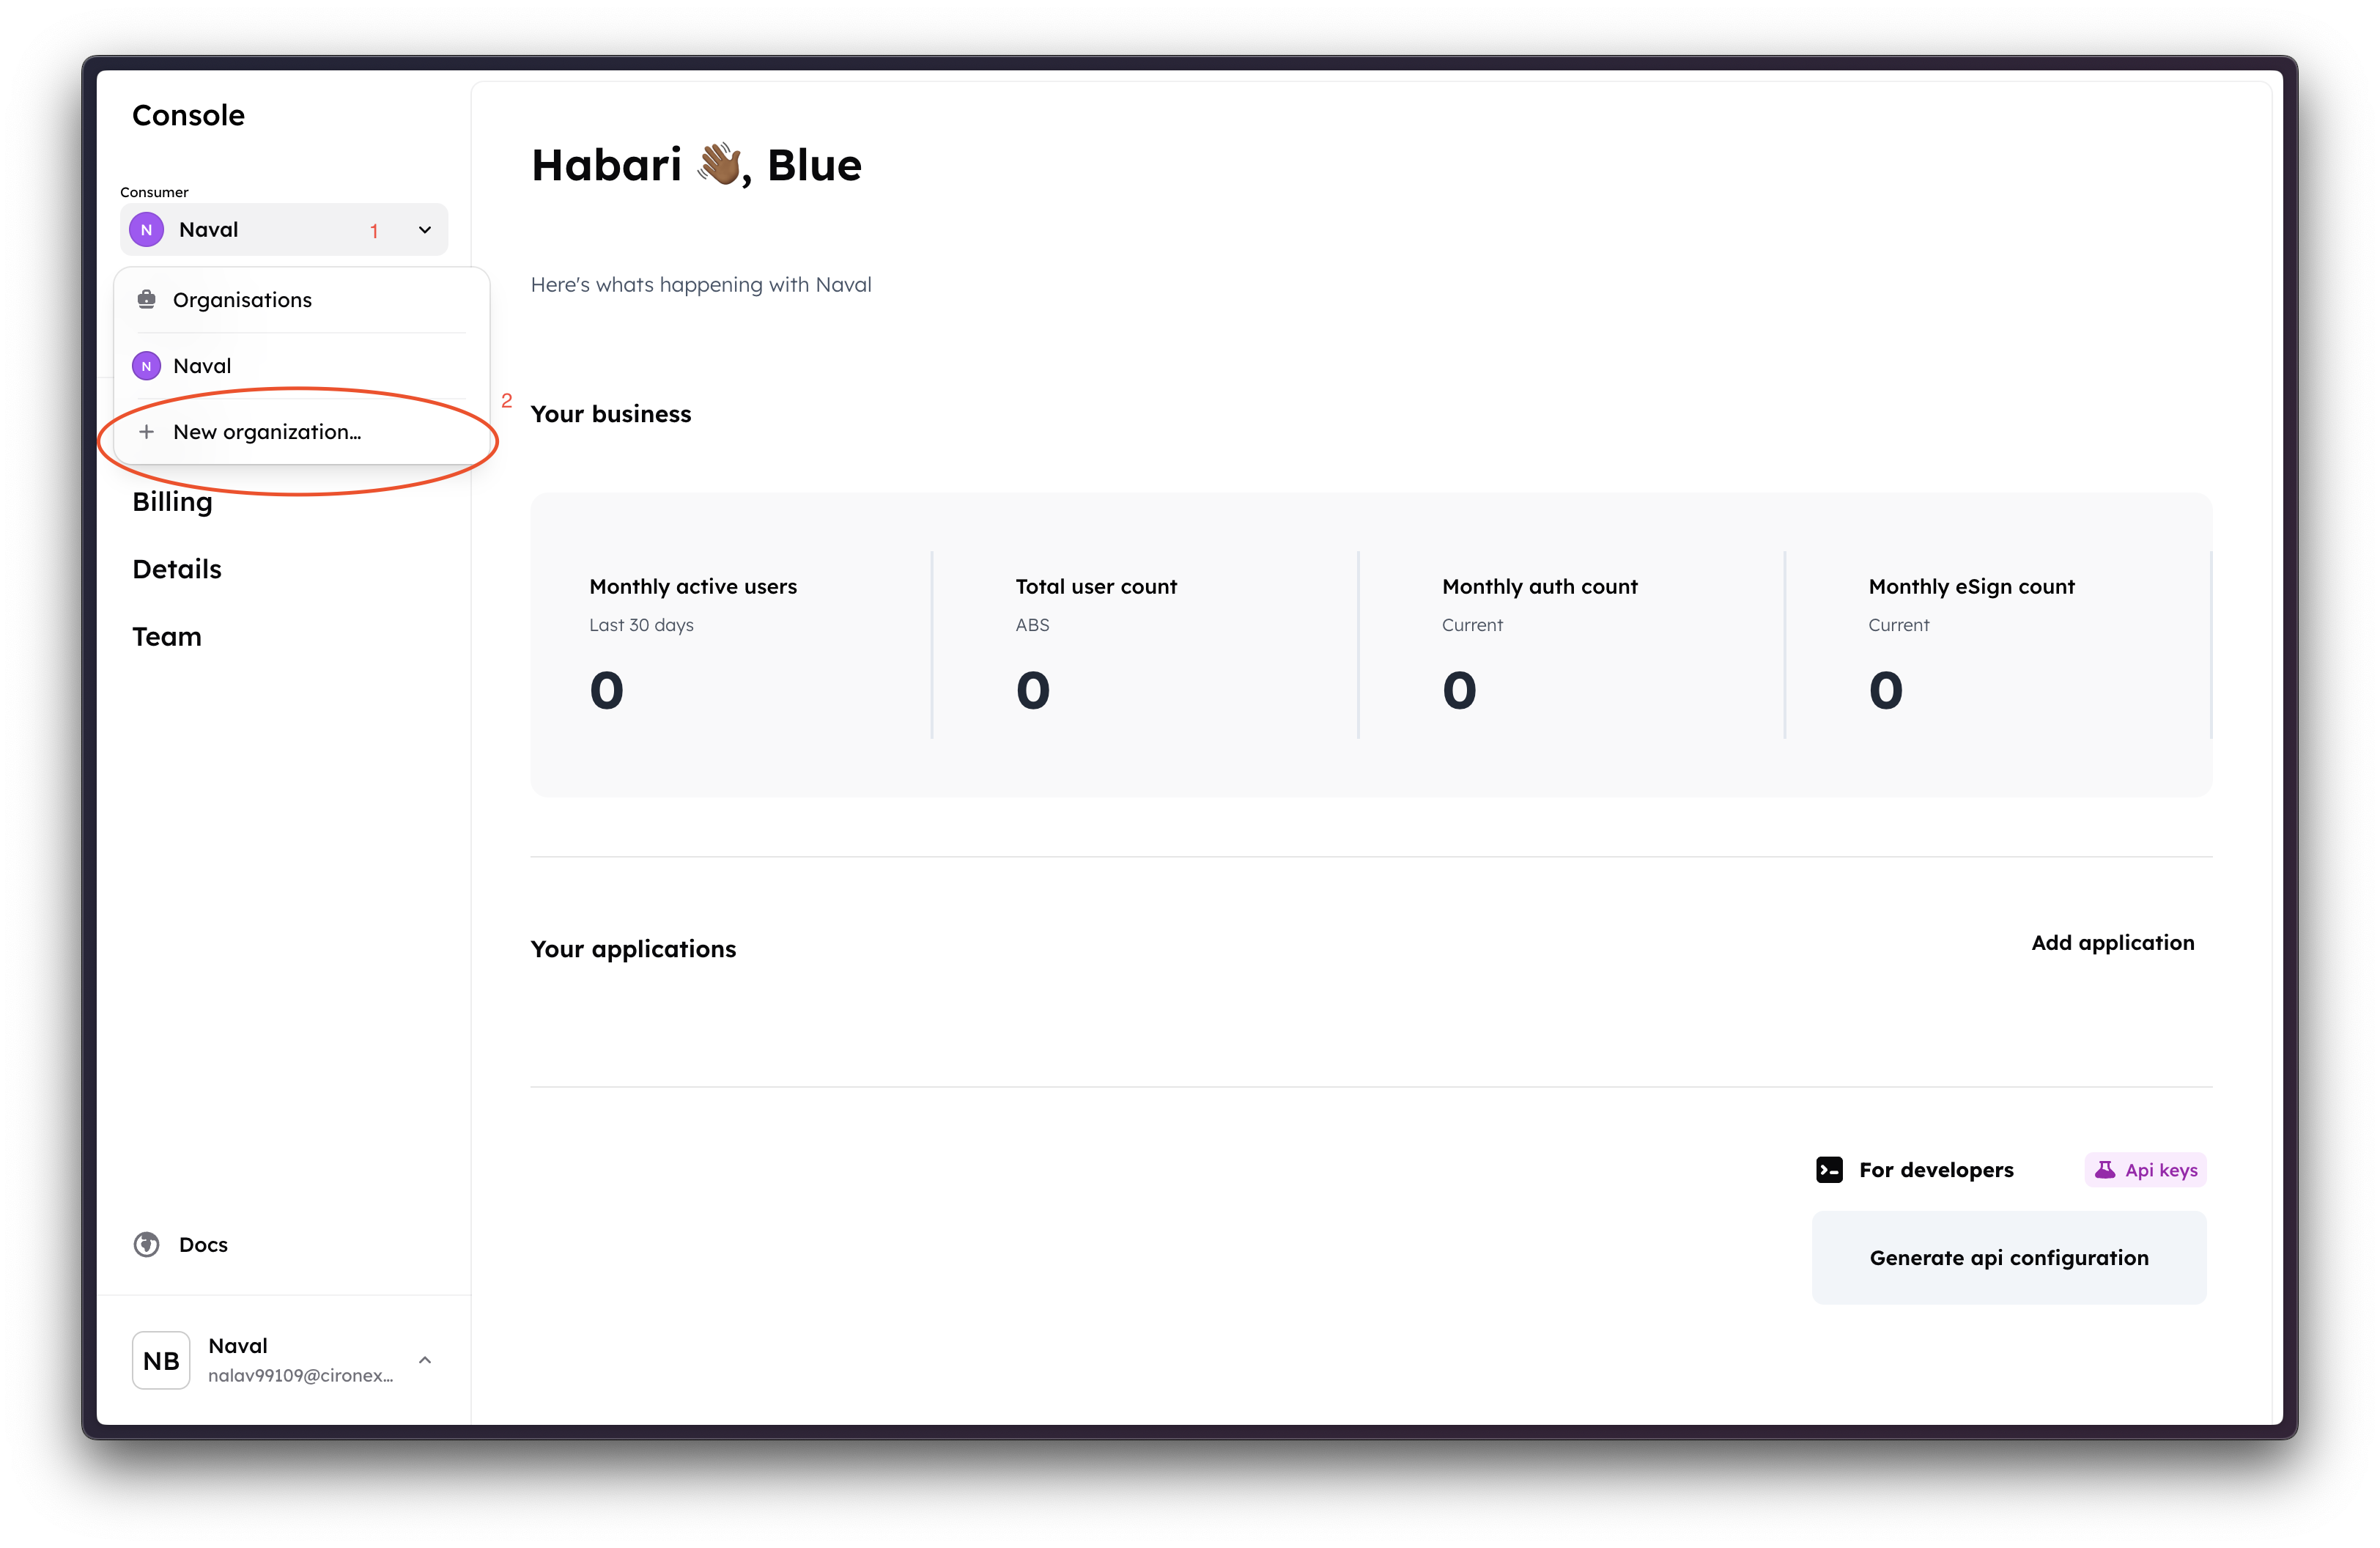
Luckily if you have concluded with your registration by following the activation link, you'd now have your first organization already created onto Console.
But you can create a new organization right from the dashboard. It will look something like this:
Generating the api keys
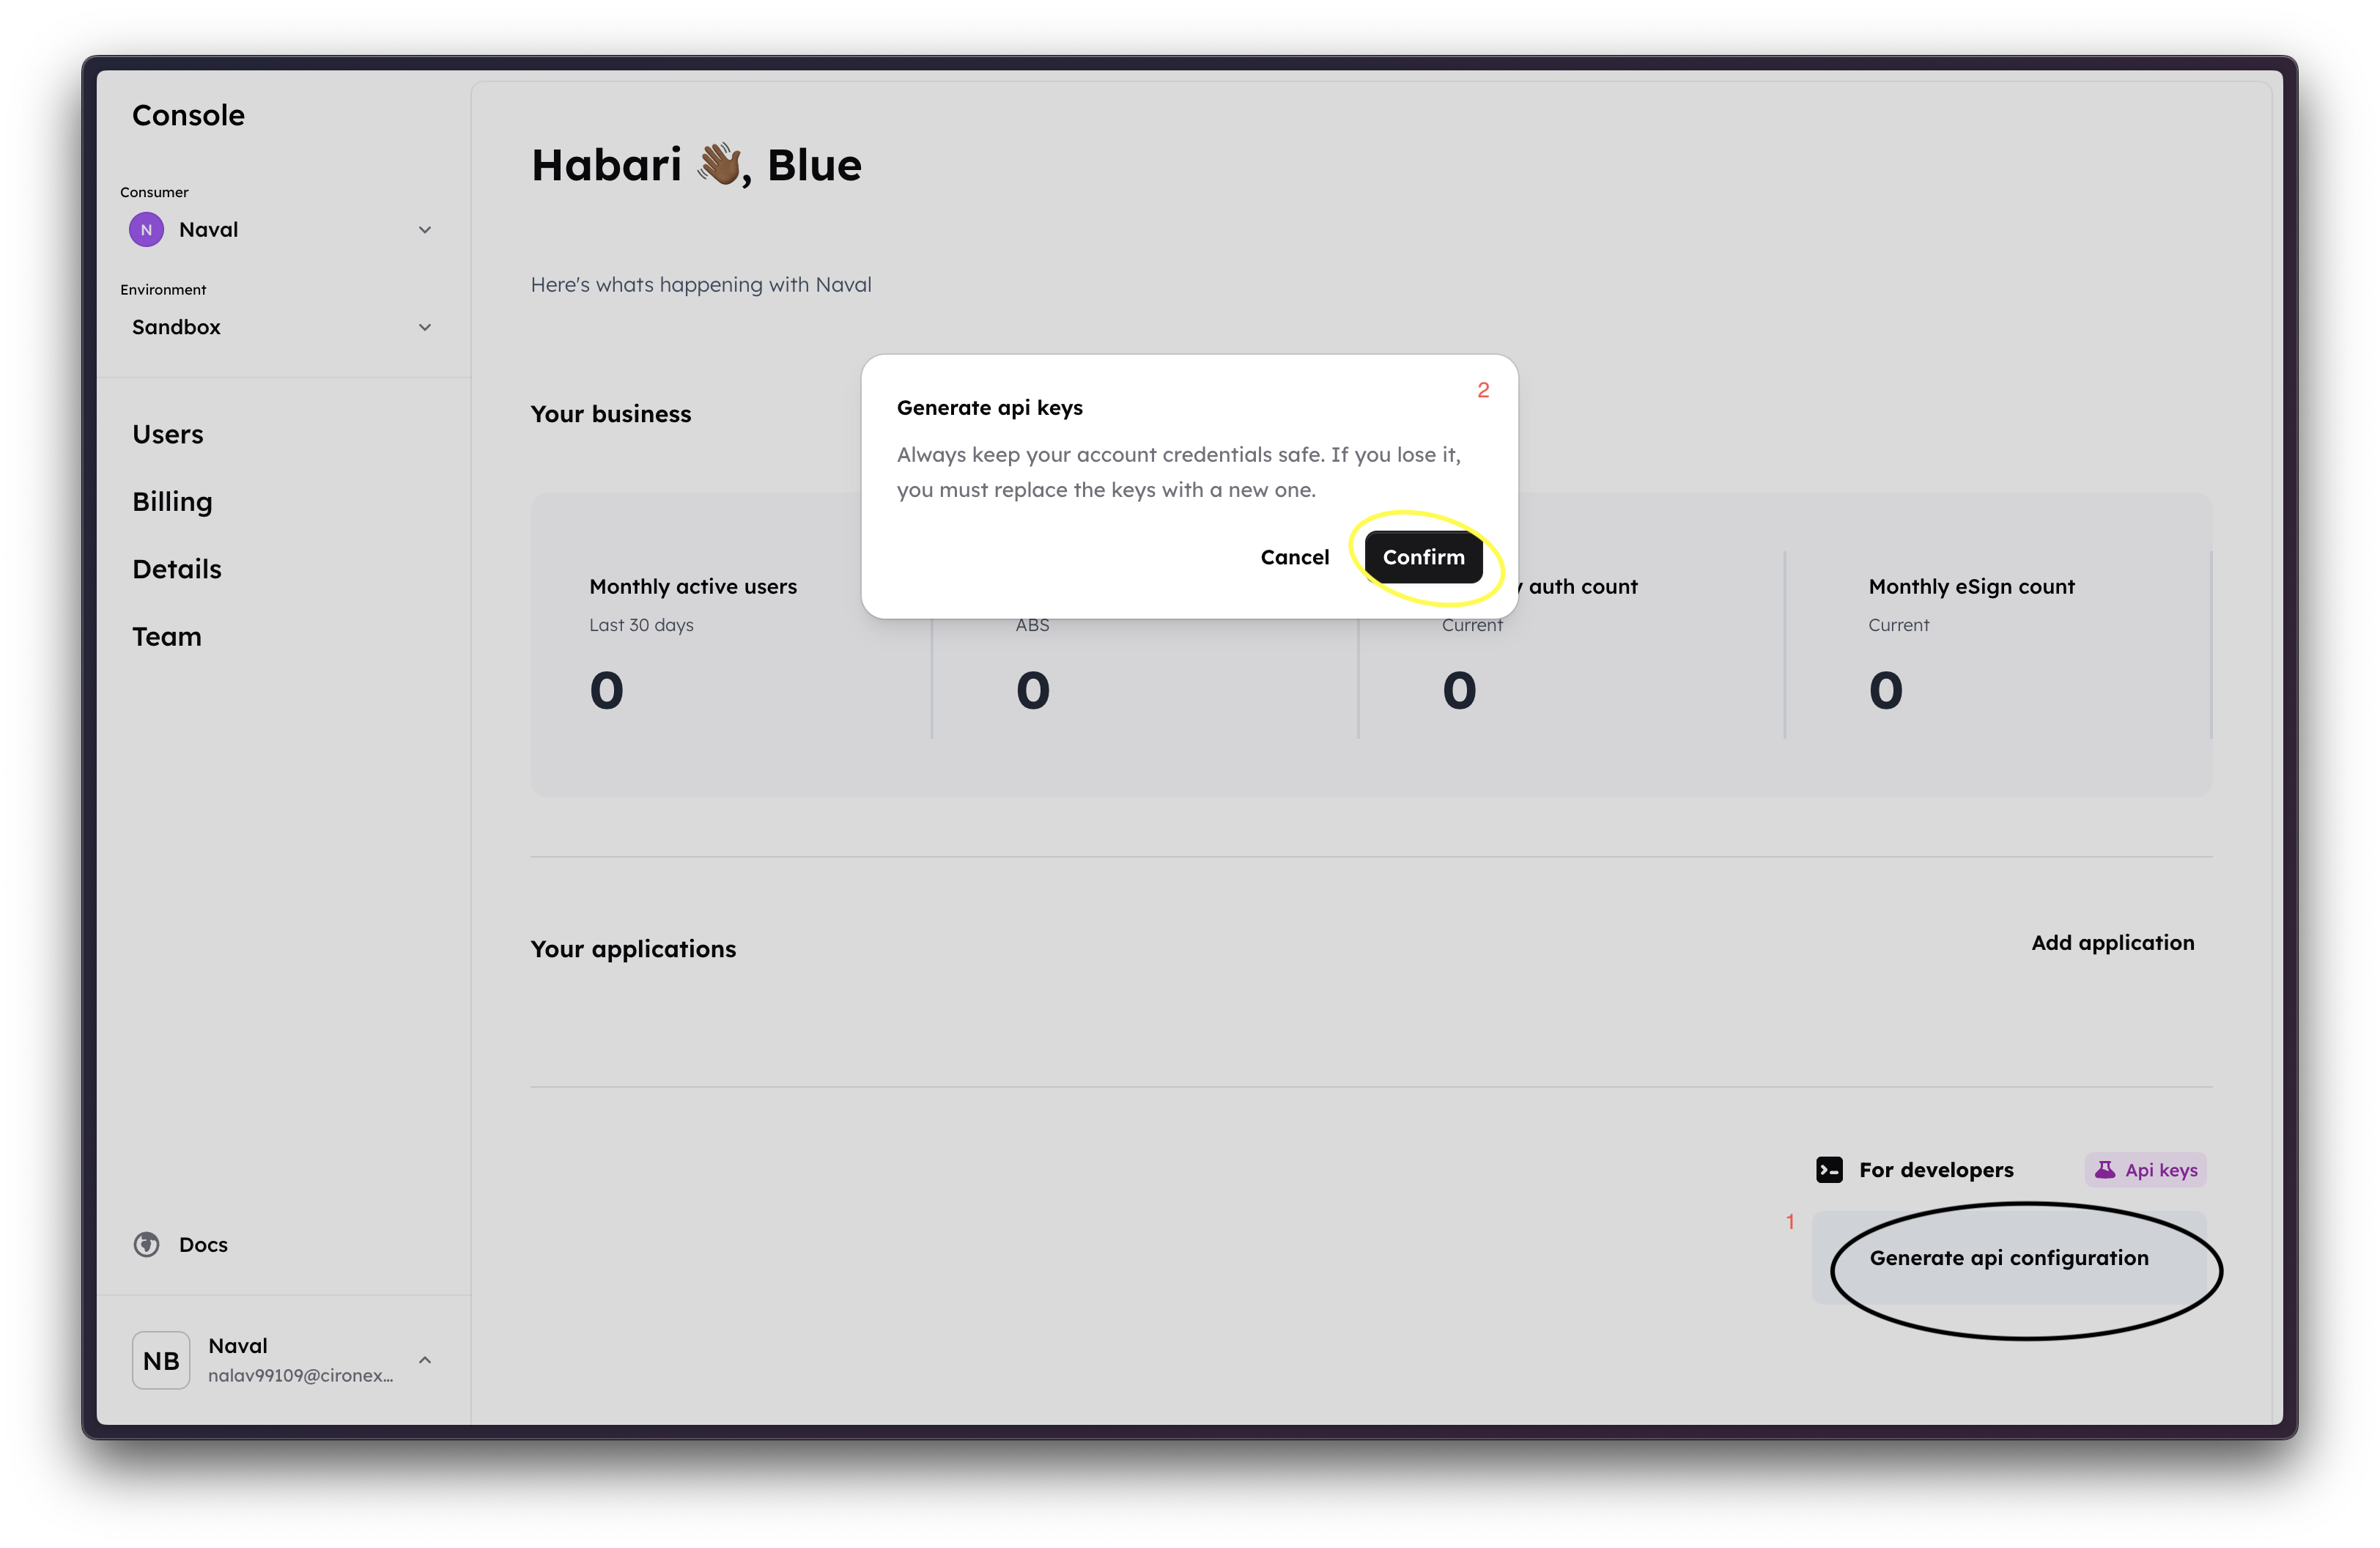
Once registered and have an organization on Console you can simply generate your api keys from the dashboard. Click on the "Generate api configuration" button right underneath "For developers" and read the dialogs that show up properly as you continue with the process.
Create an app
Apps provides your target audience a place to interface with your services. Apps can only be associated with one organization at a time. But are differentiated by their client IDs.
How to create an app on console
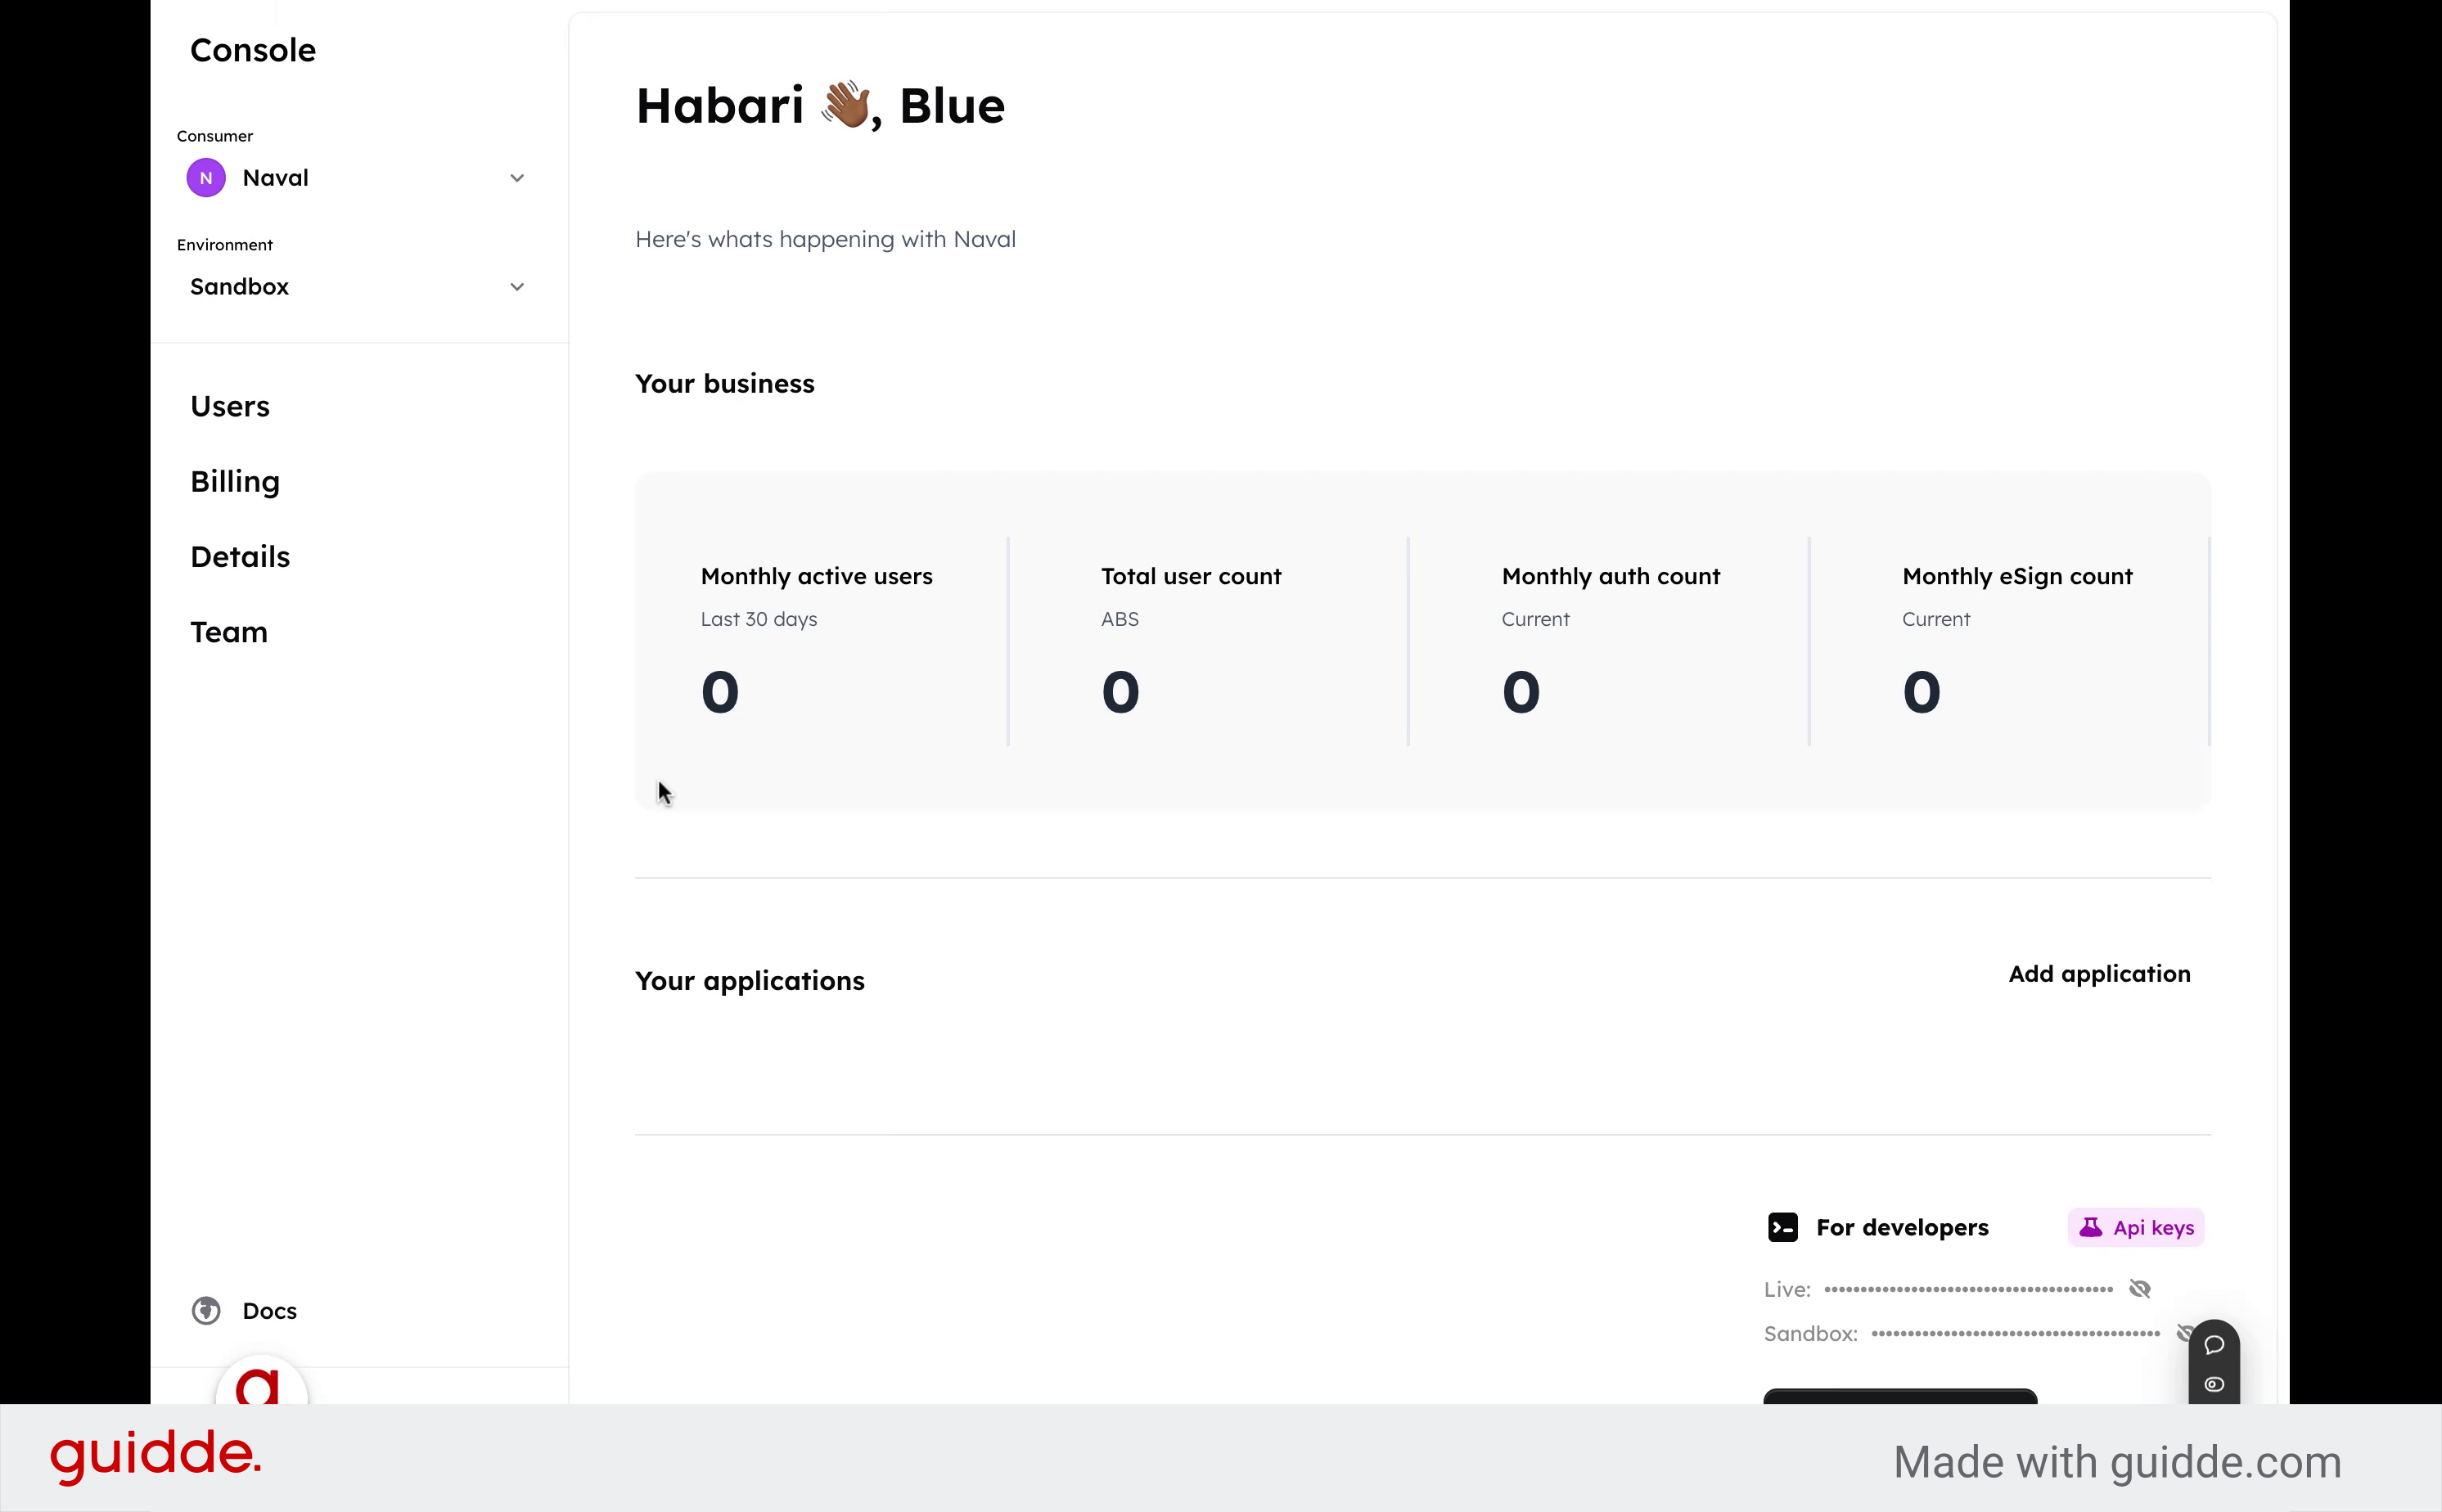
In this guide, you will learn how to efficiently create an app on Console
Go to console.pasby.africa
1. Introduction
Master app creation on pasby following these steps.
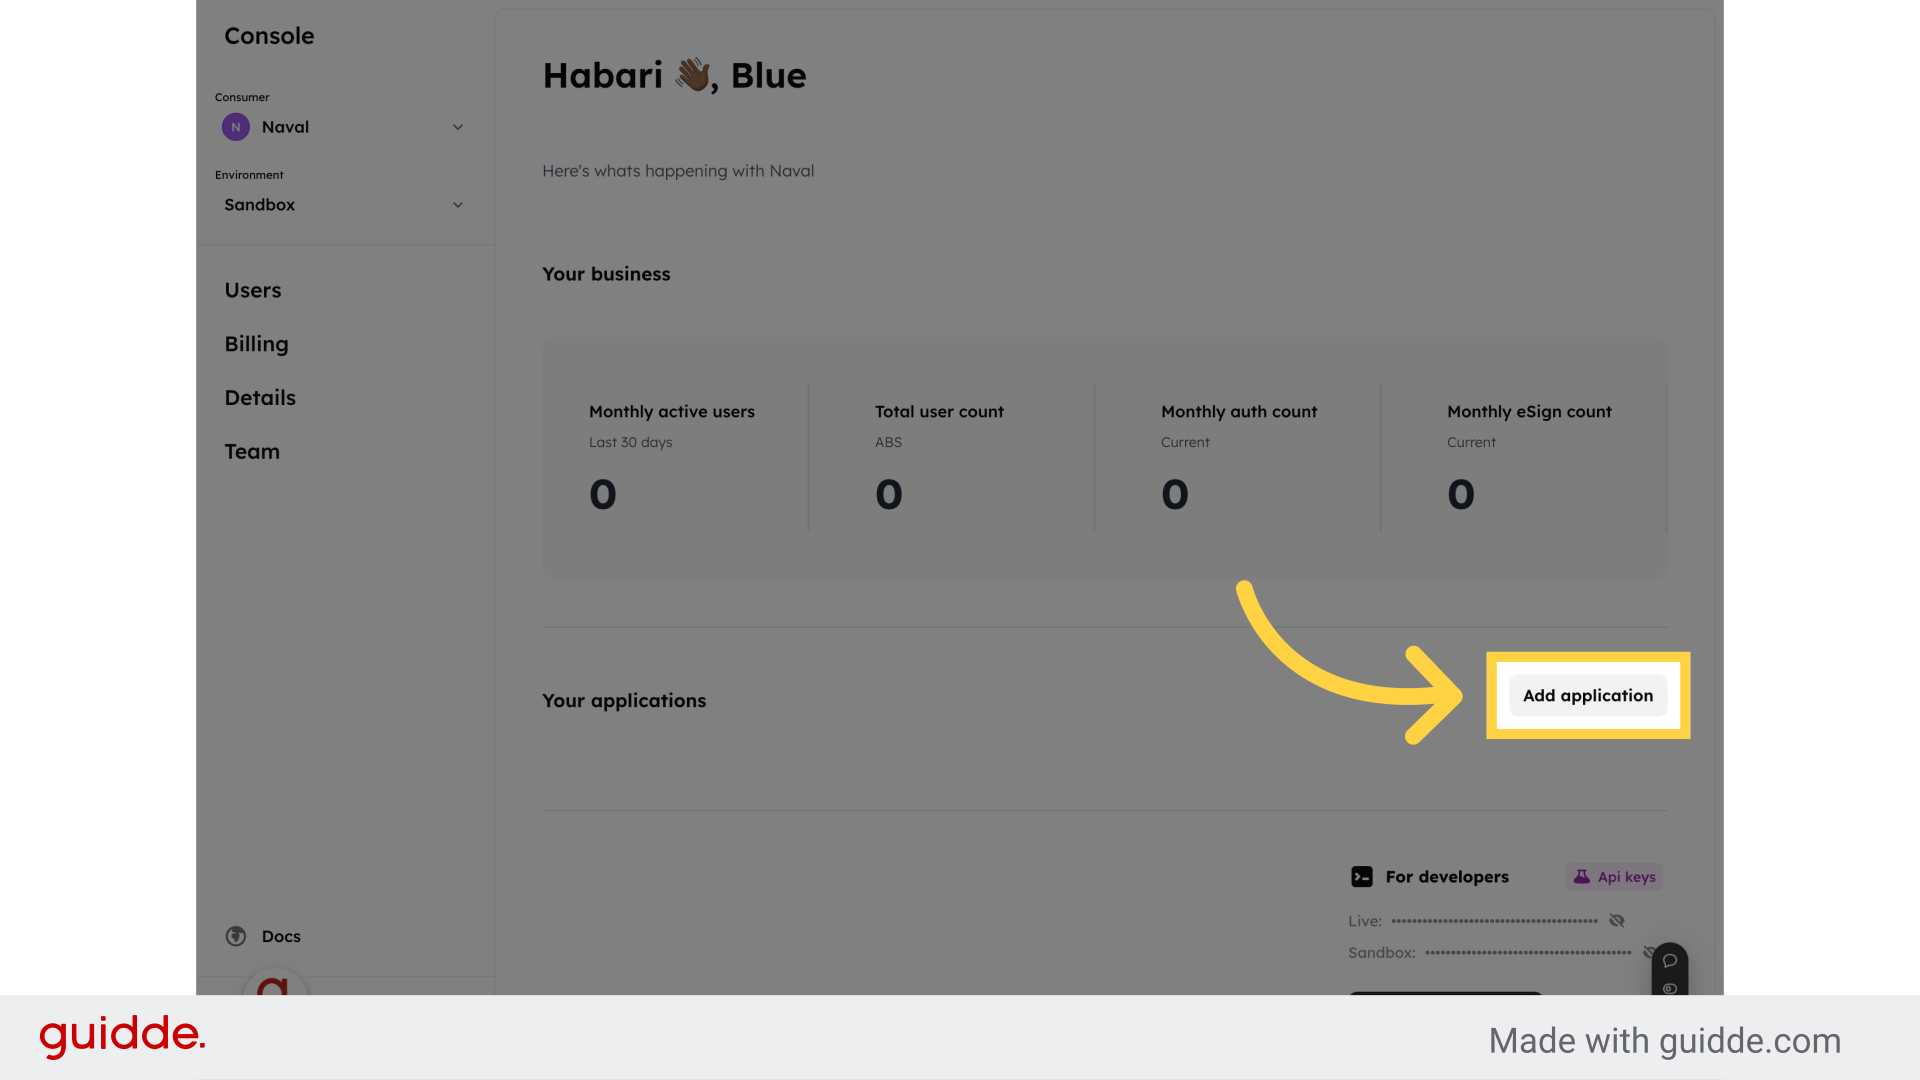
2. Click "Add application"
Initiate the app creation process by clicking on "Add application
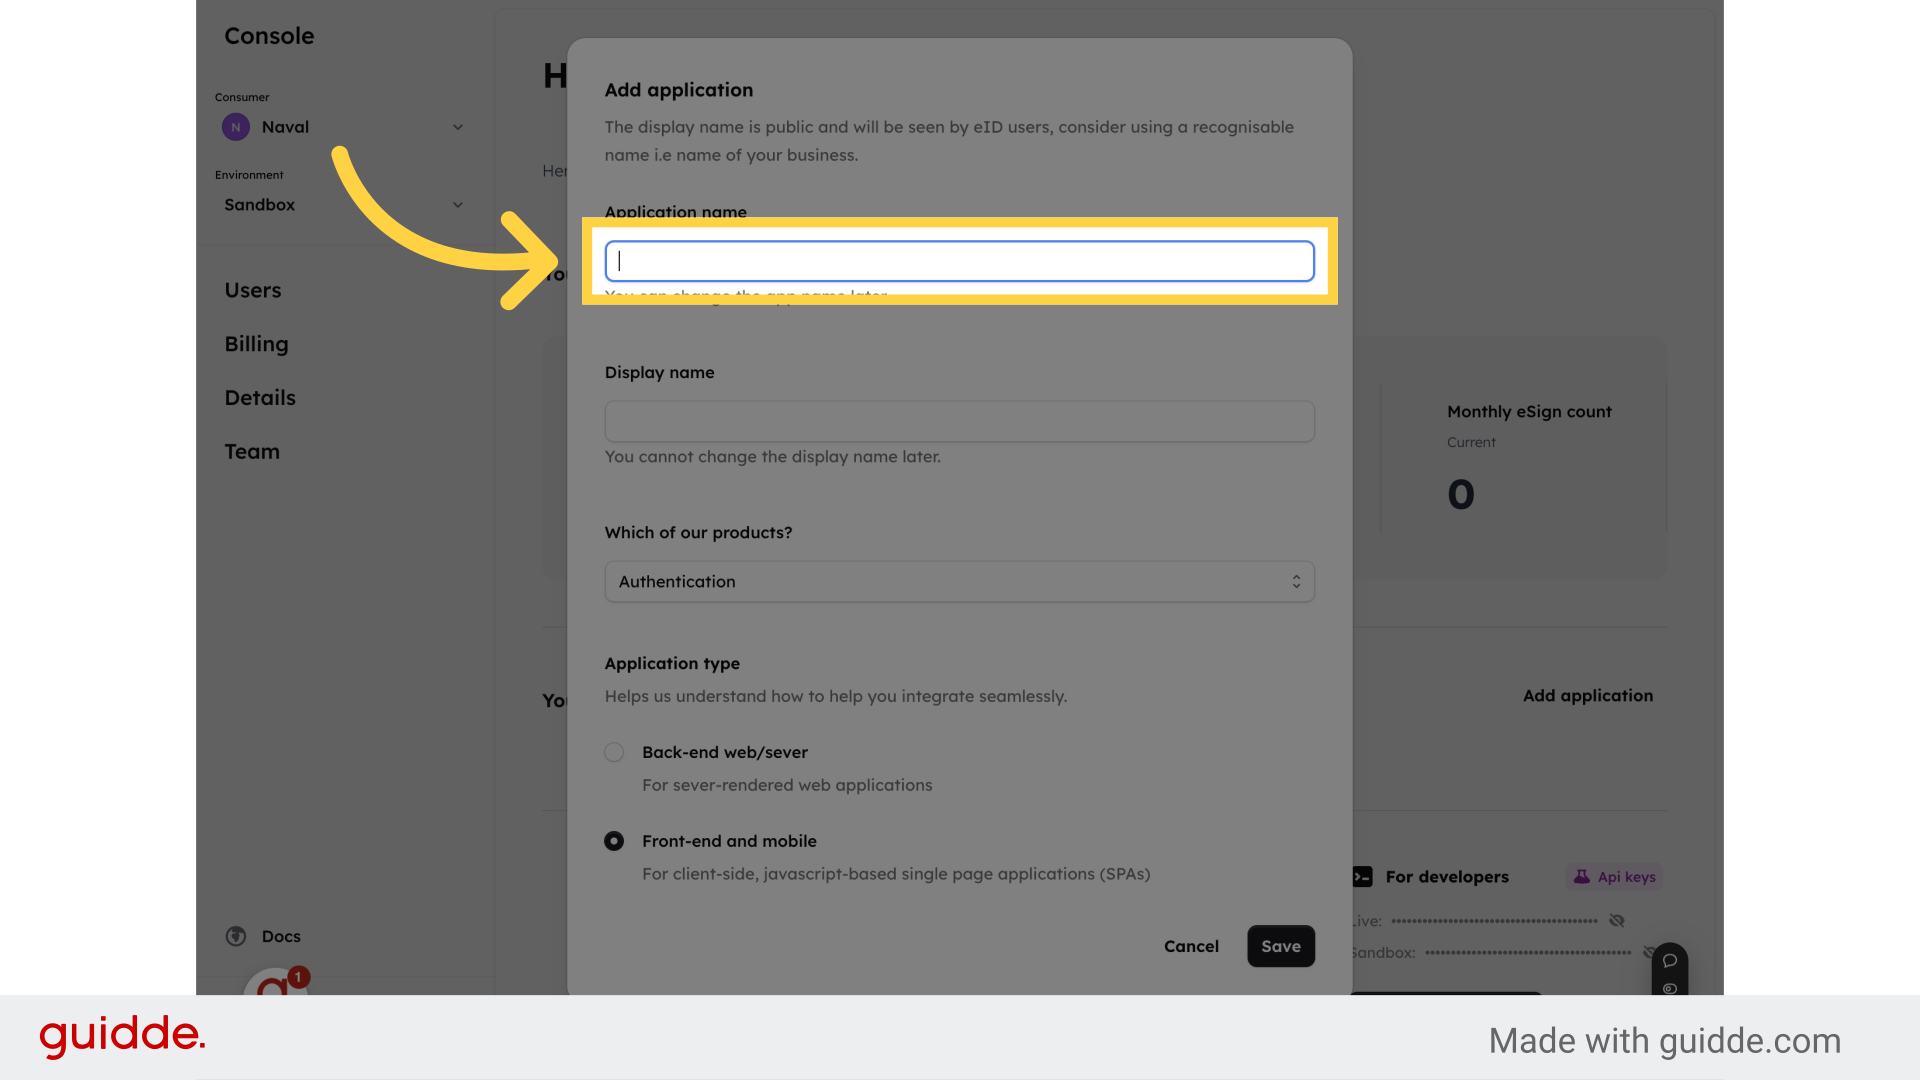
3. Click "Application name"
Enter the desired name for your application by clicking on "Application name
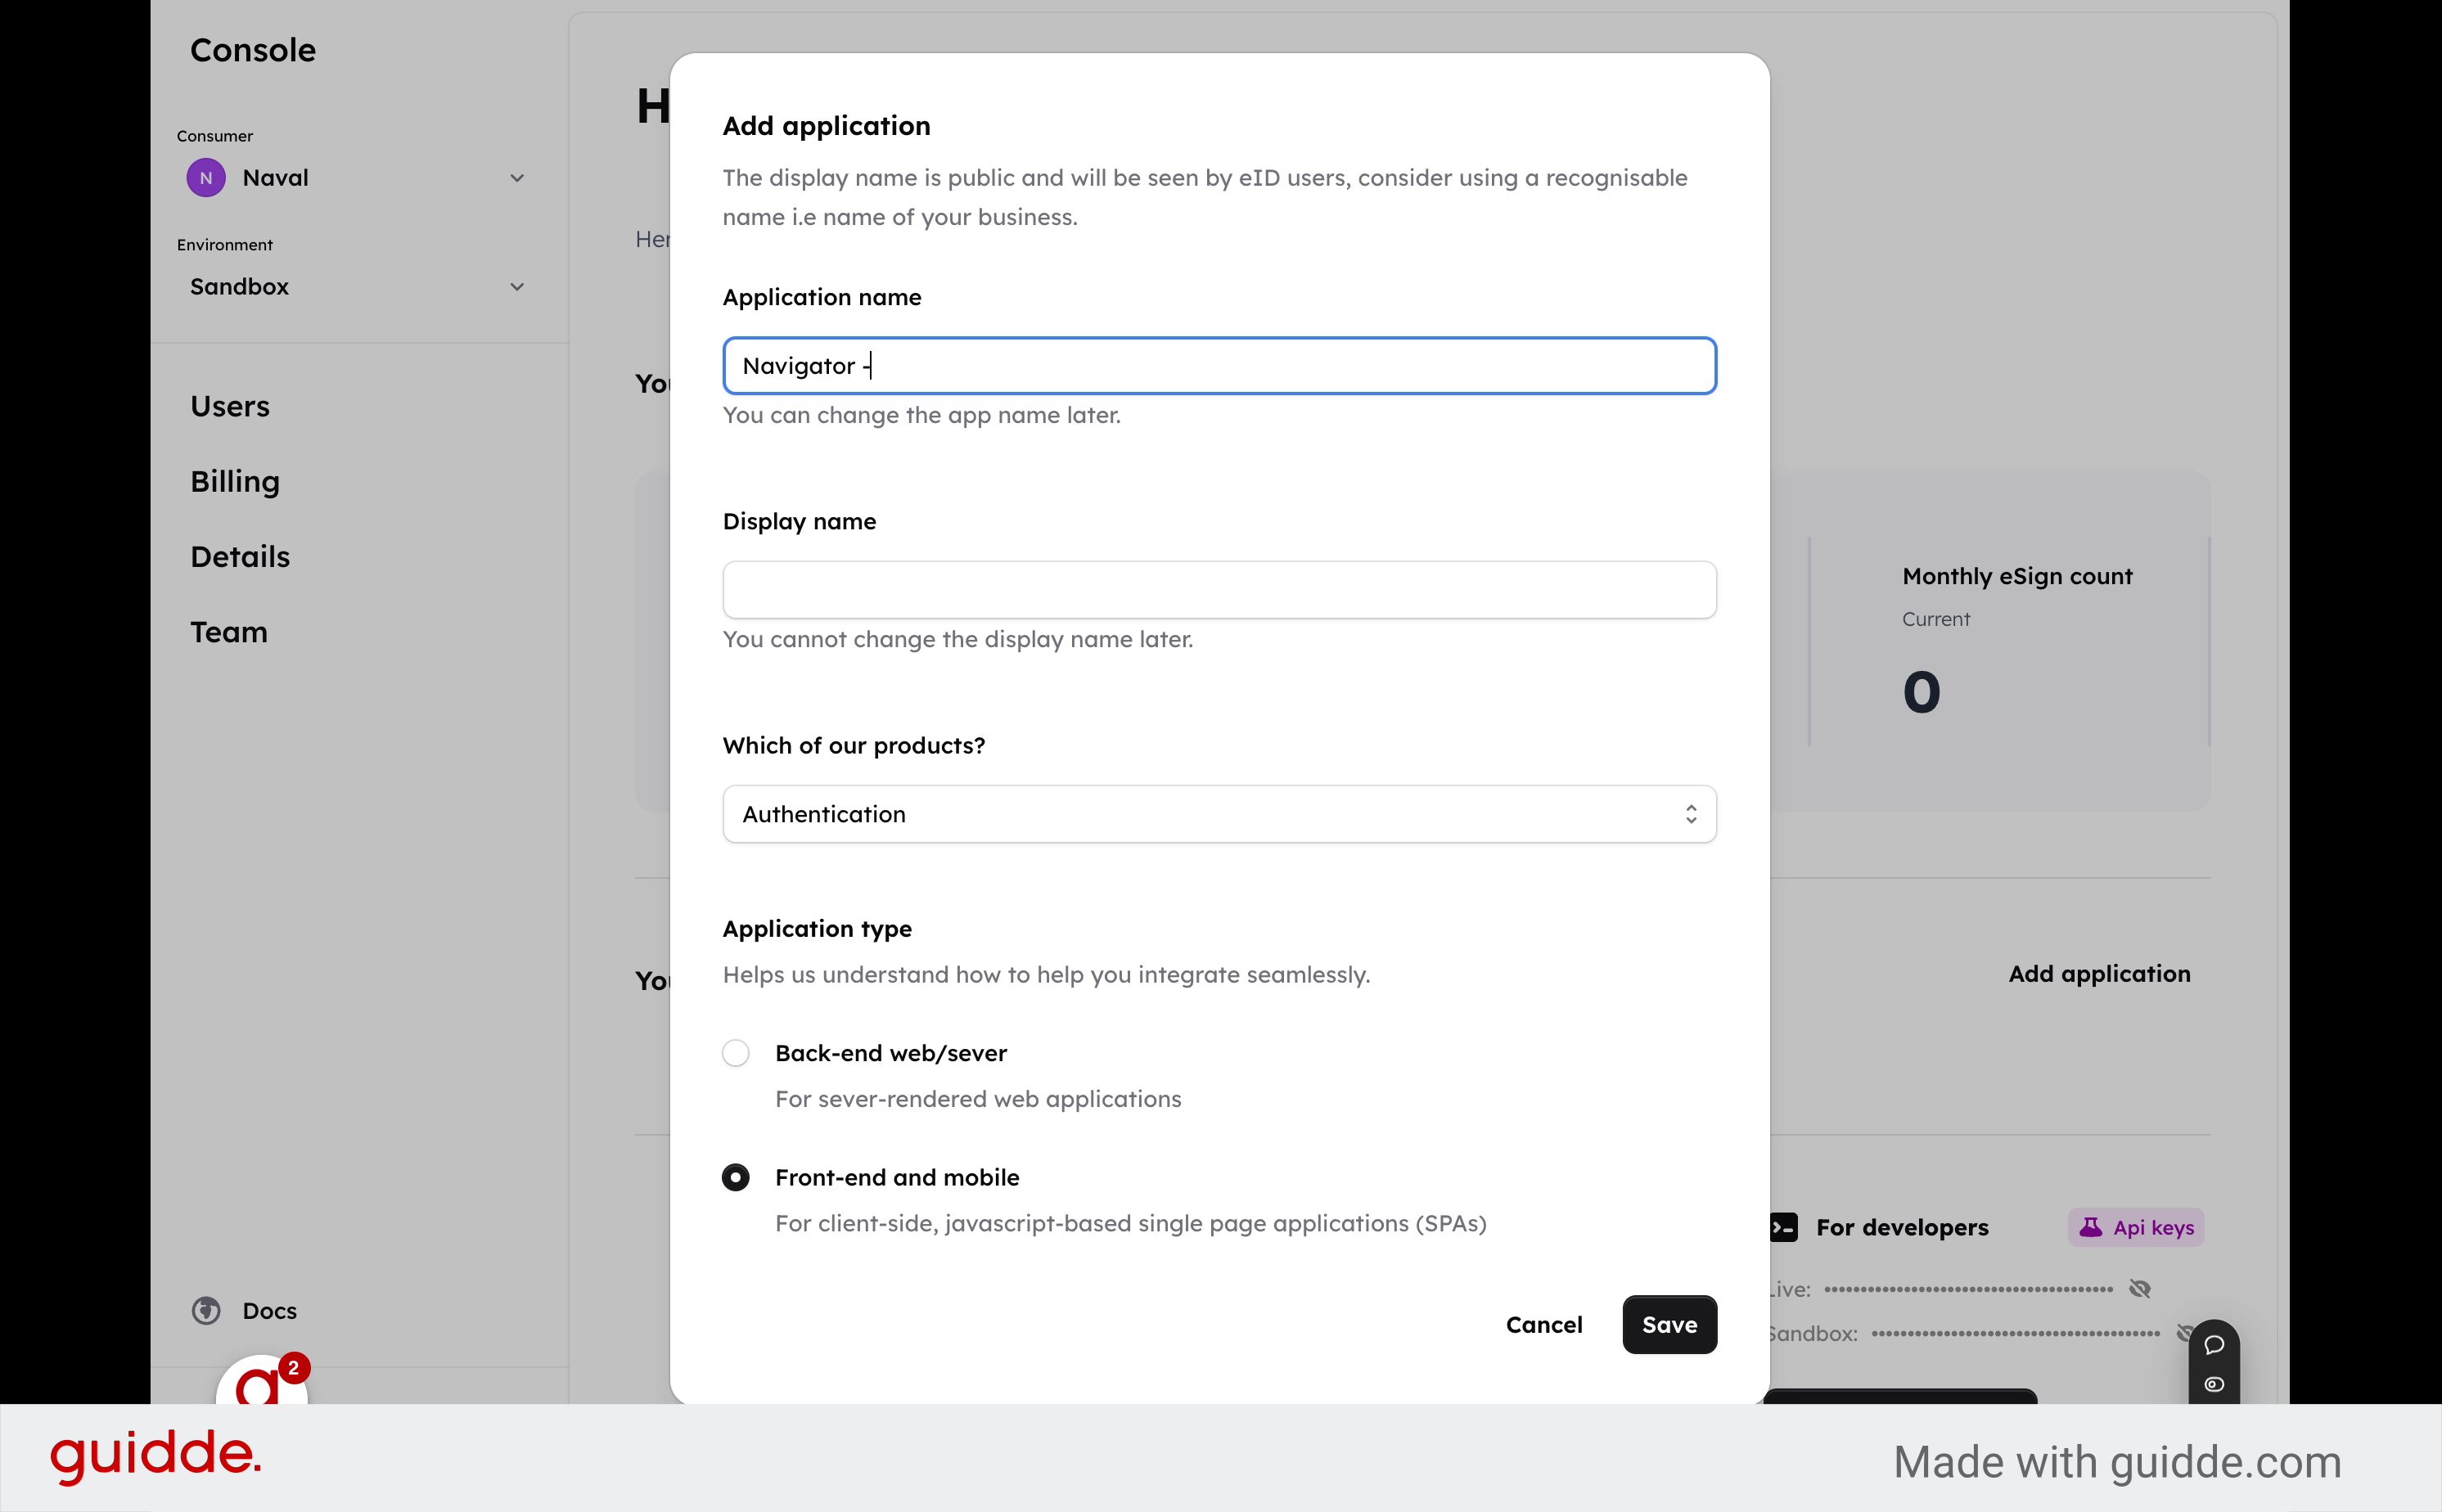
4. Fill in a desired name
This name is only displayed on Console's dashboard
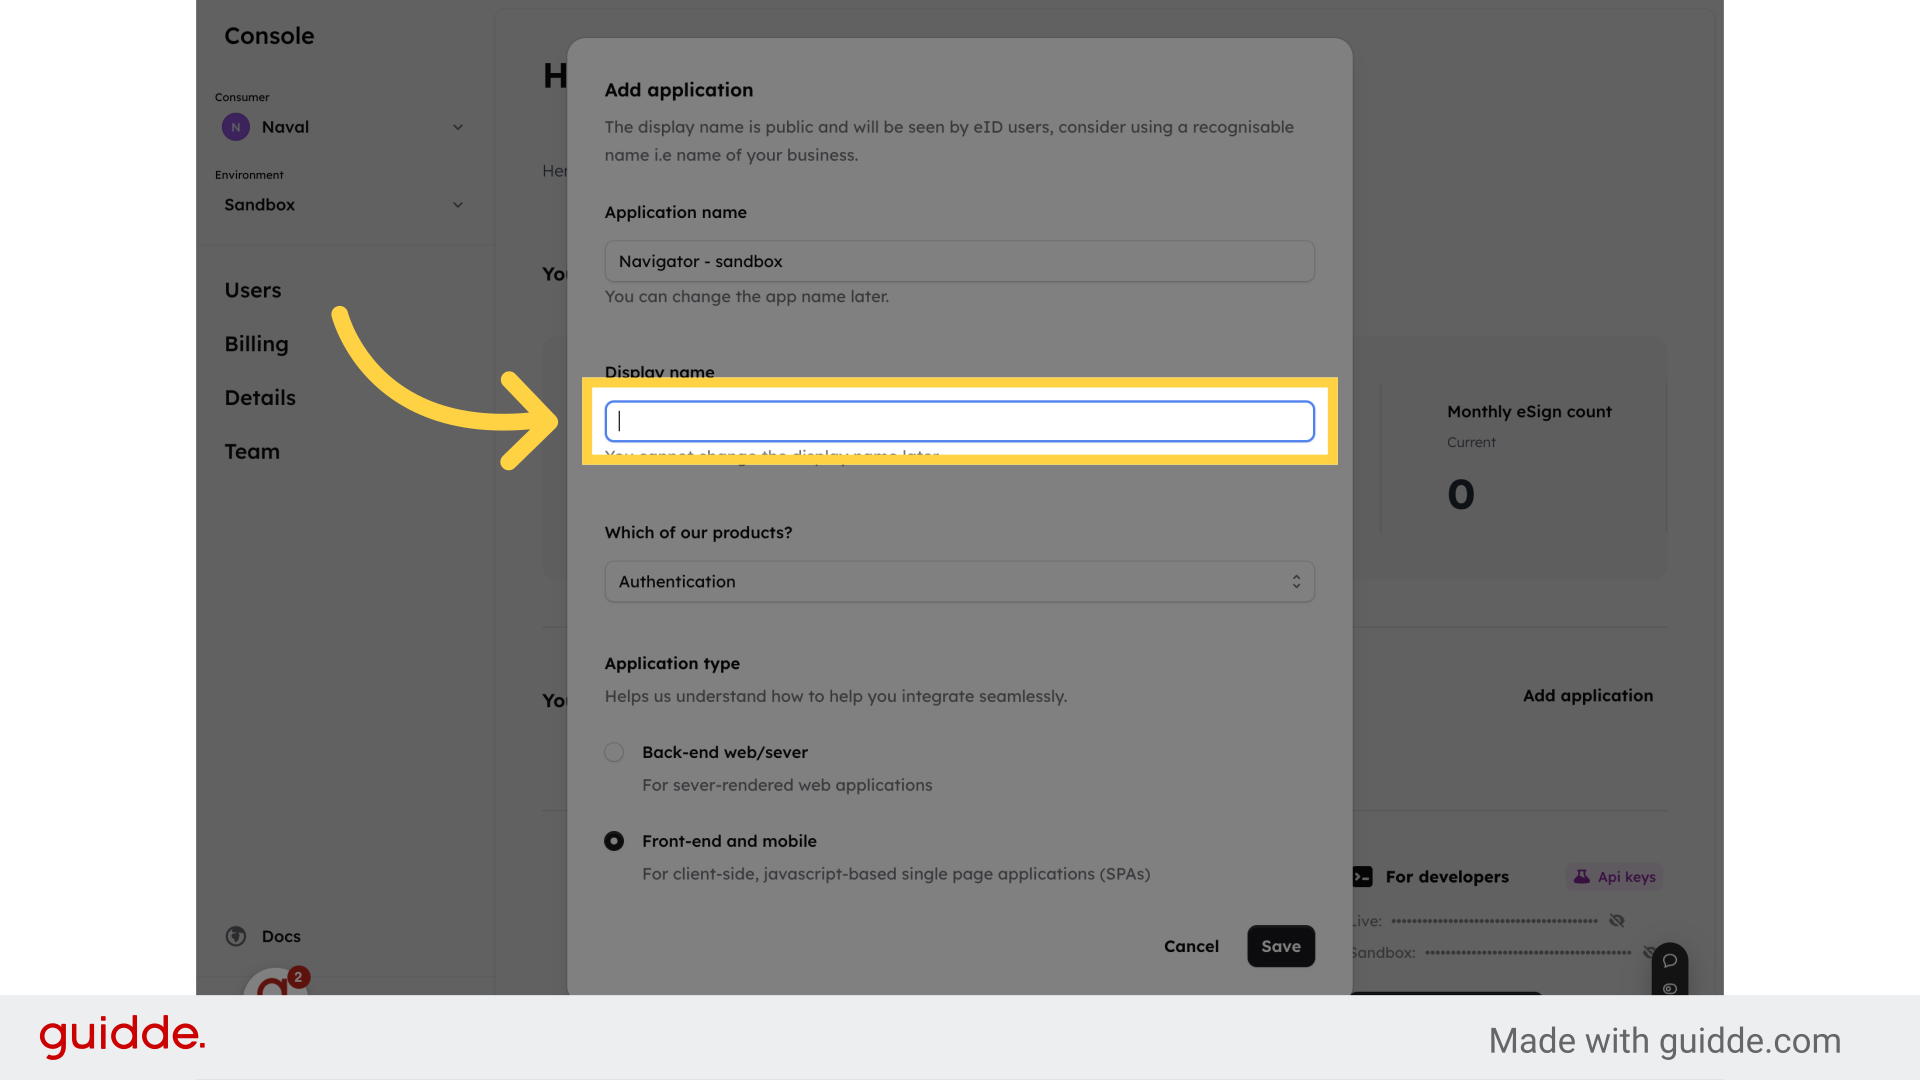
5. Click "Display name"
Customize the display name of your application by clicking on "Display name
6. Fill desired display name
This name would appear on flow requests to users. So use a name that is recognizable.
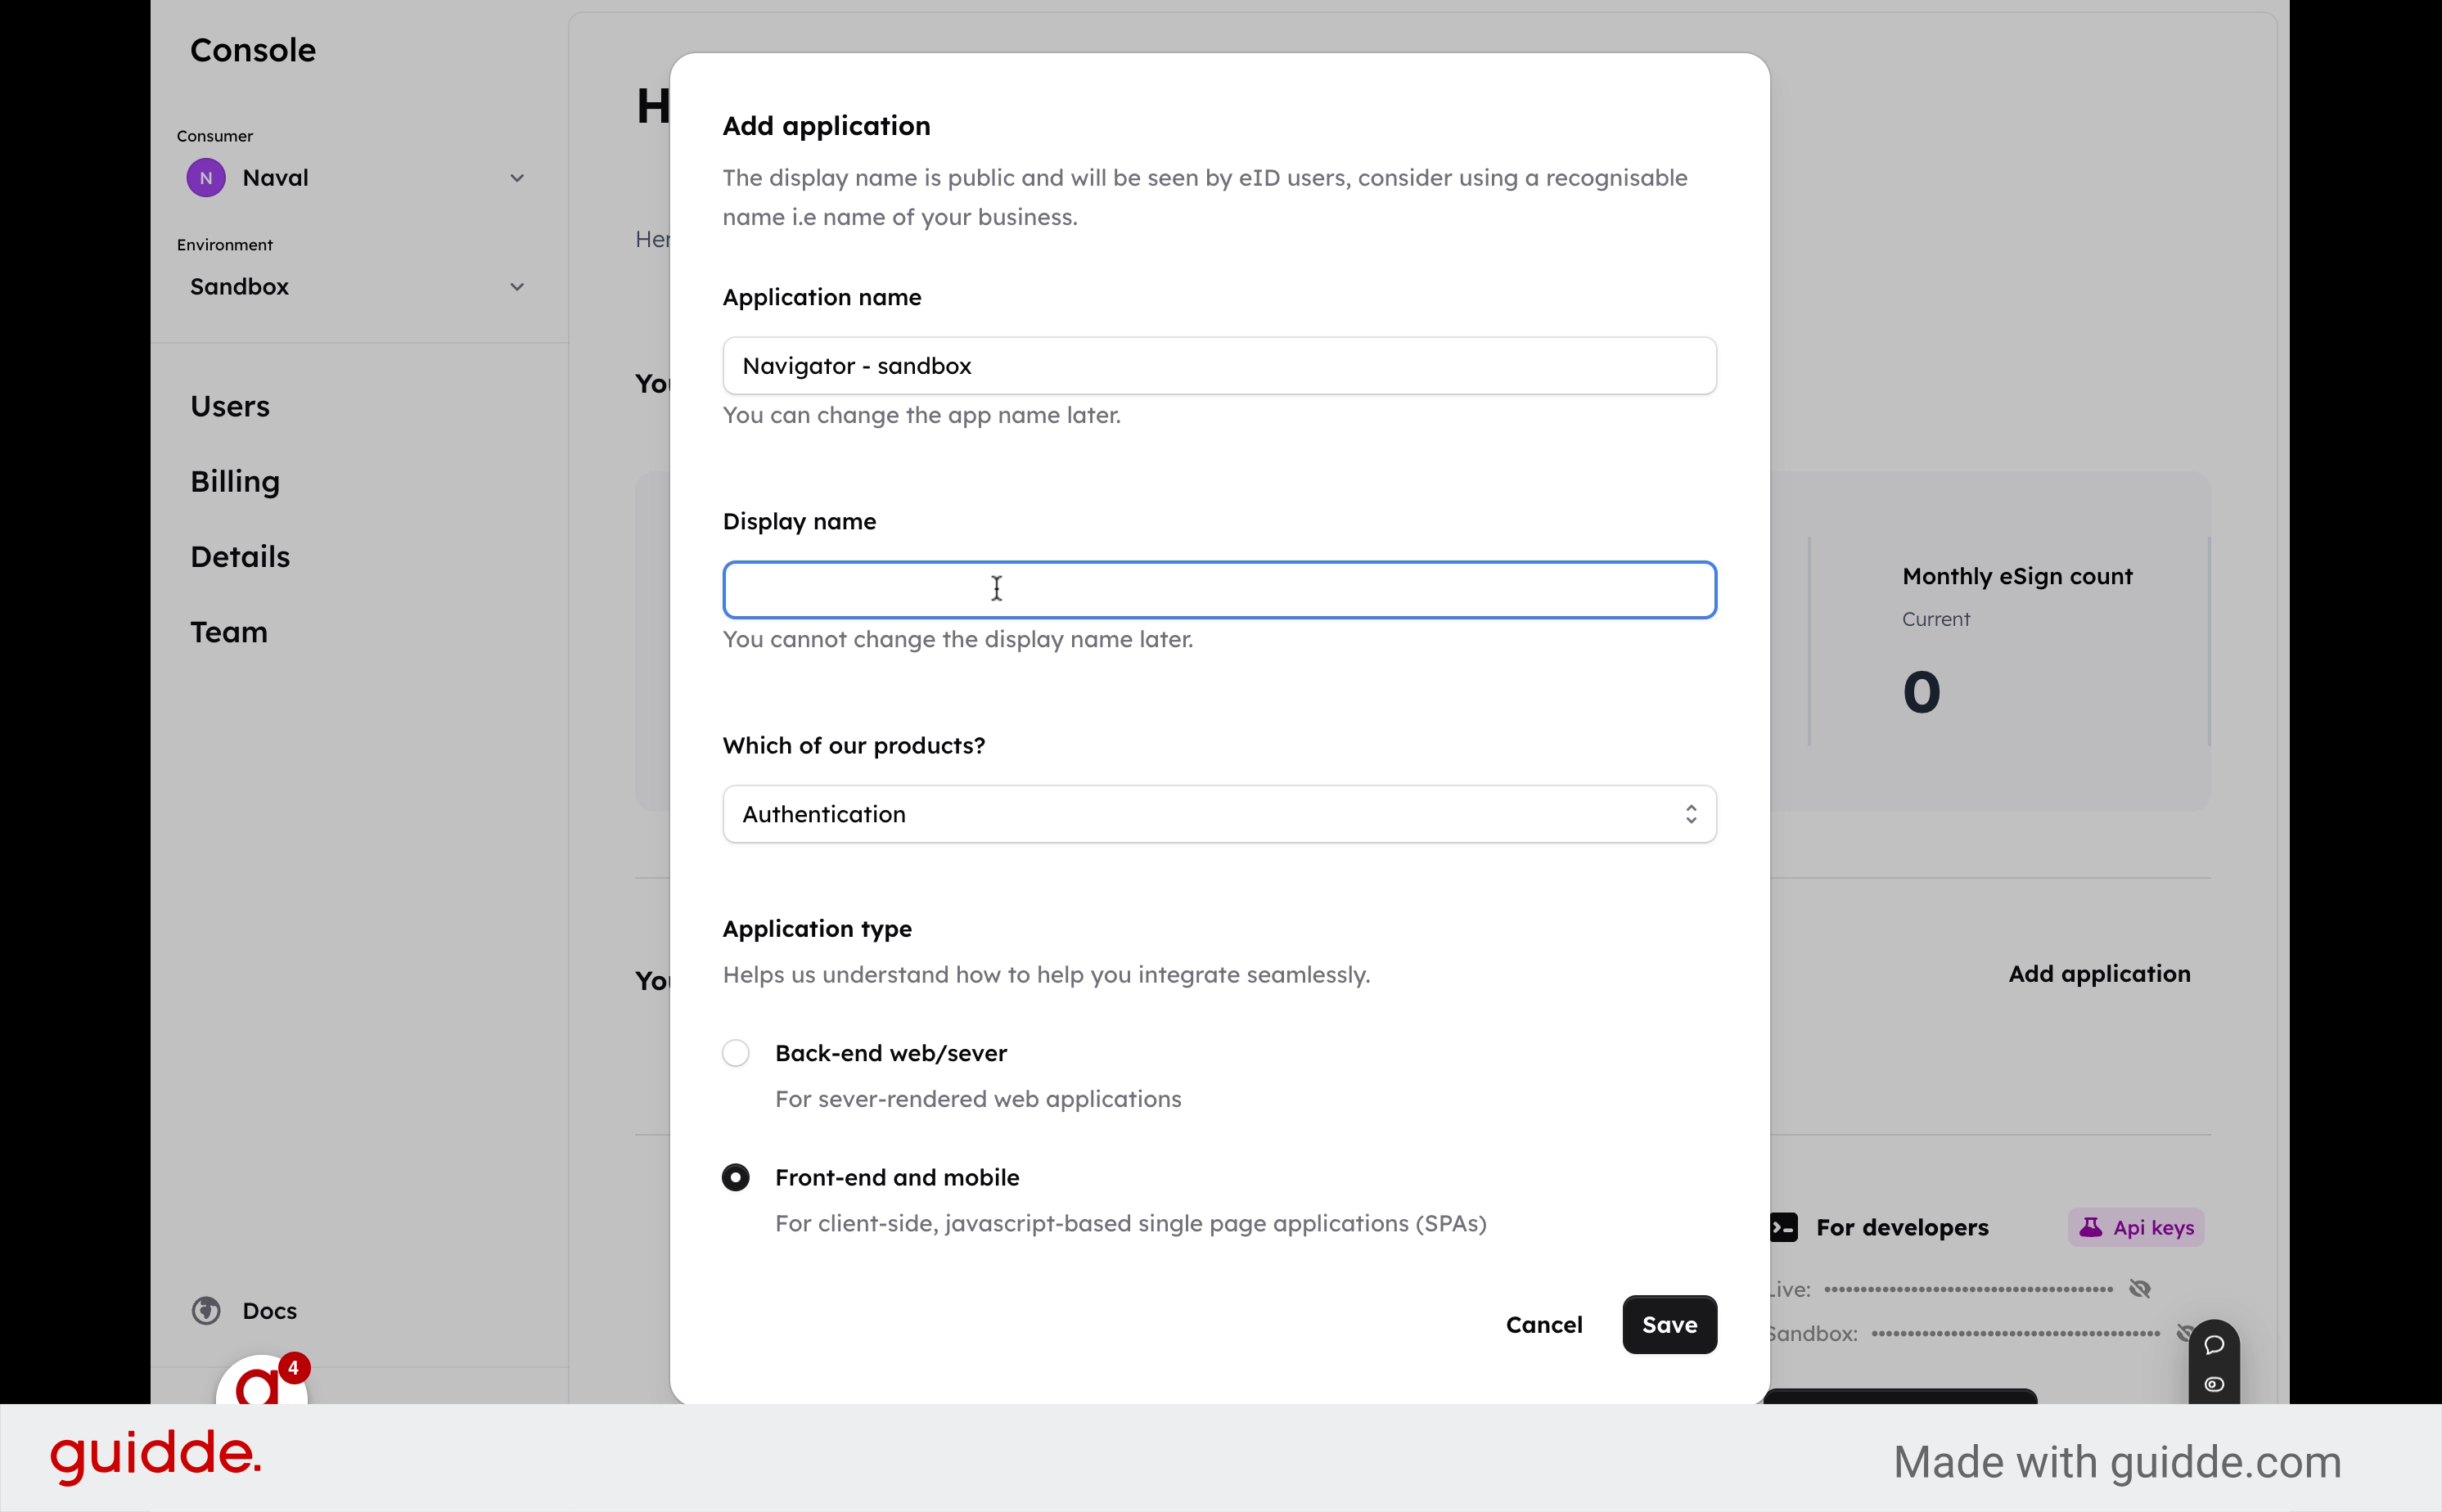
7. Select which products you'd love to use with this app
Select the product type for your application from the options provided
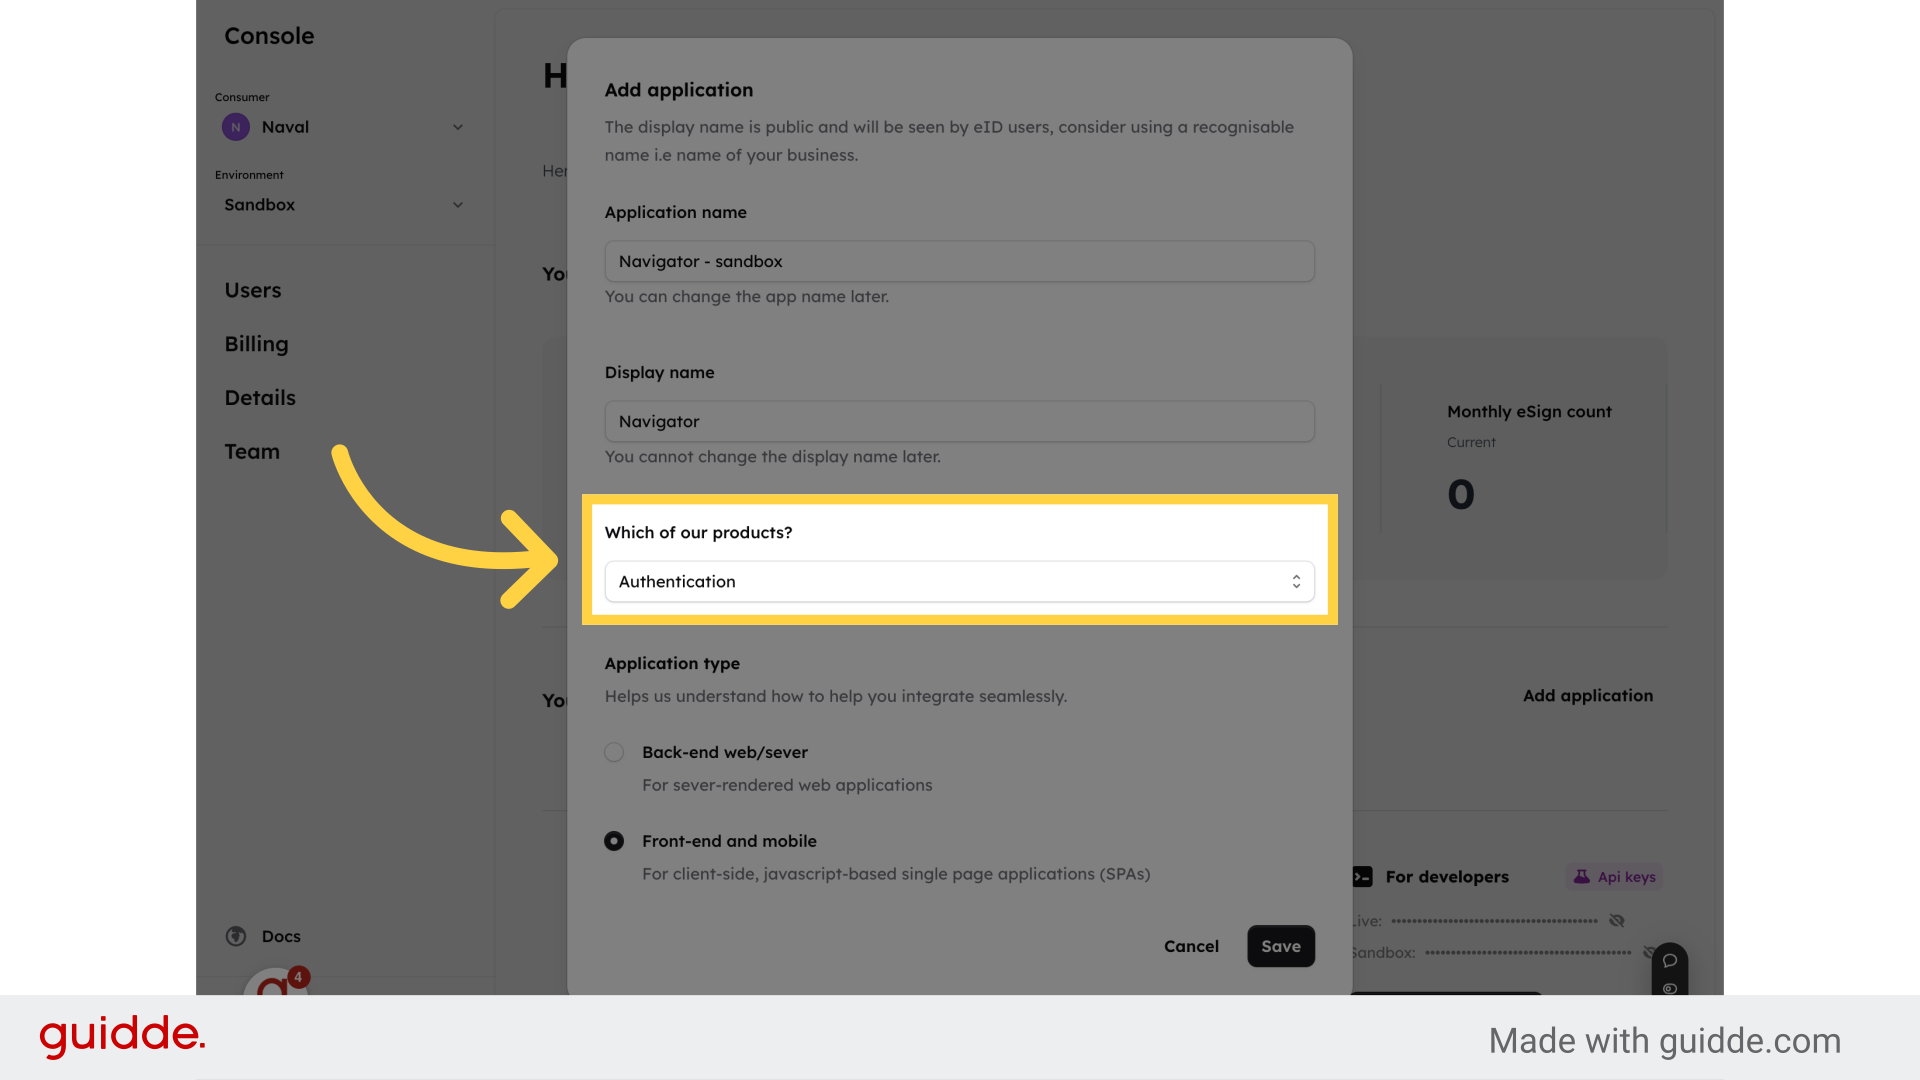
8. Select an application type
This helps us serve you with the right quick start tutorials plus scopes as required.
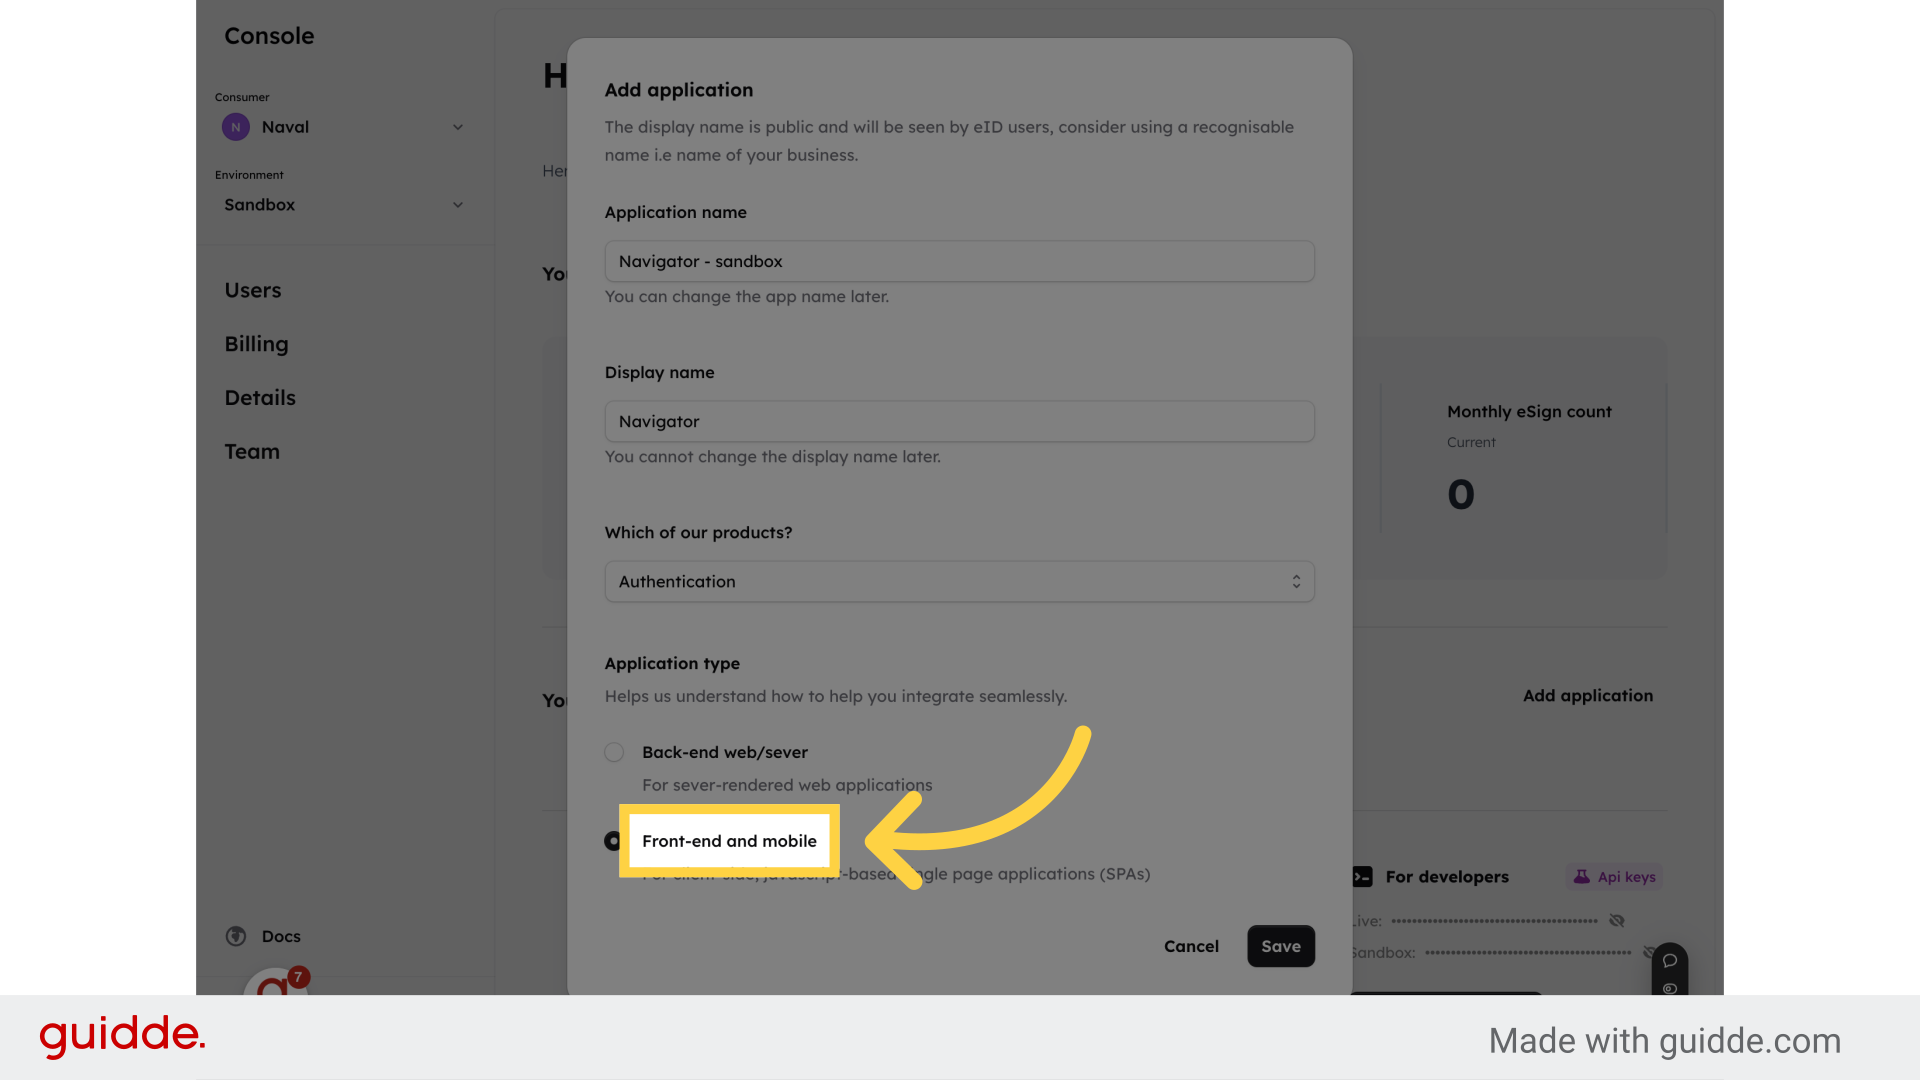
9. Click "Save"
Save the changes made to your application settings by clicking on "Save
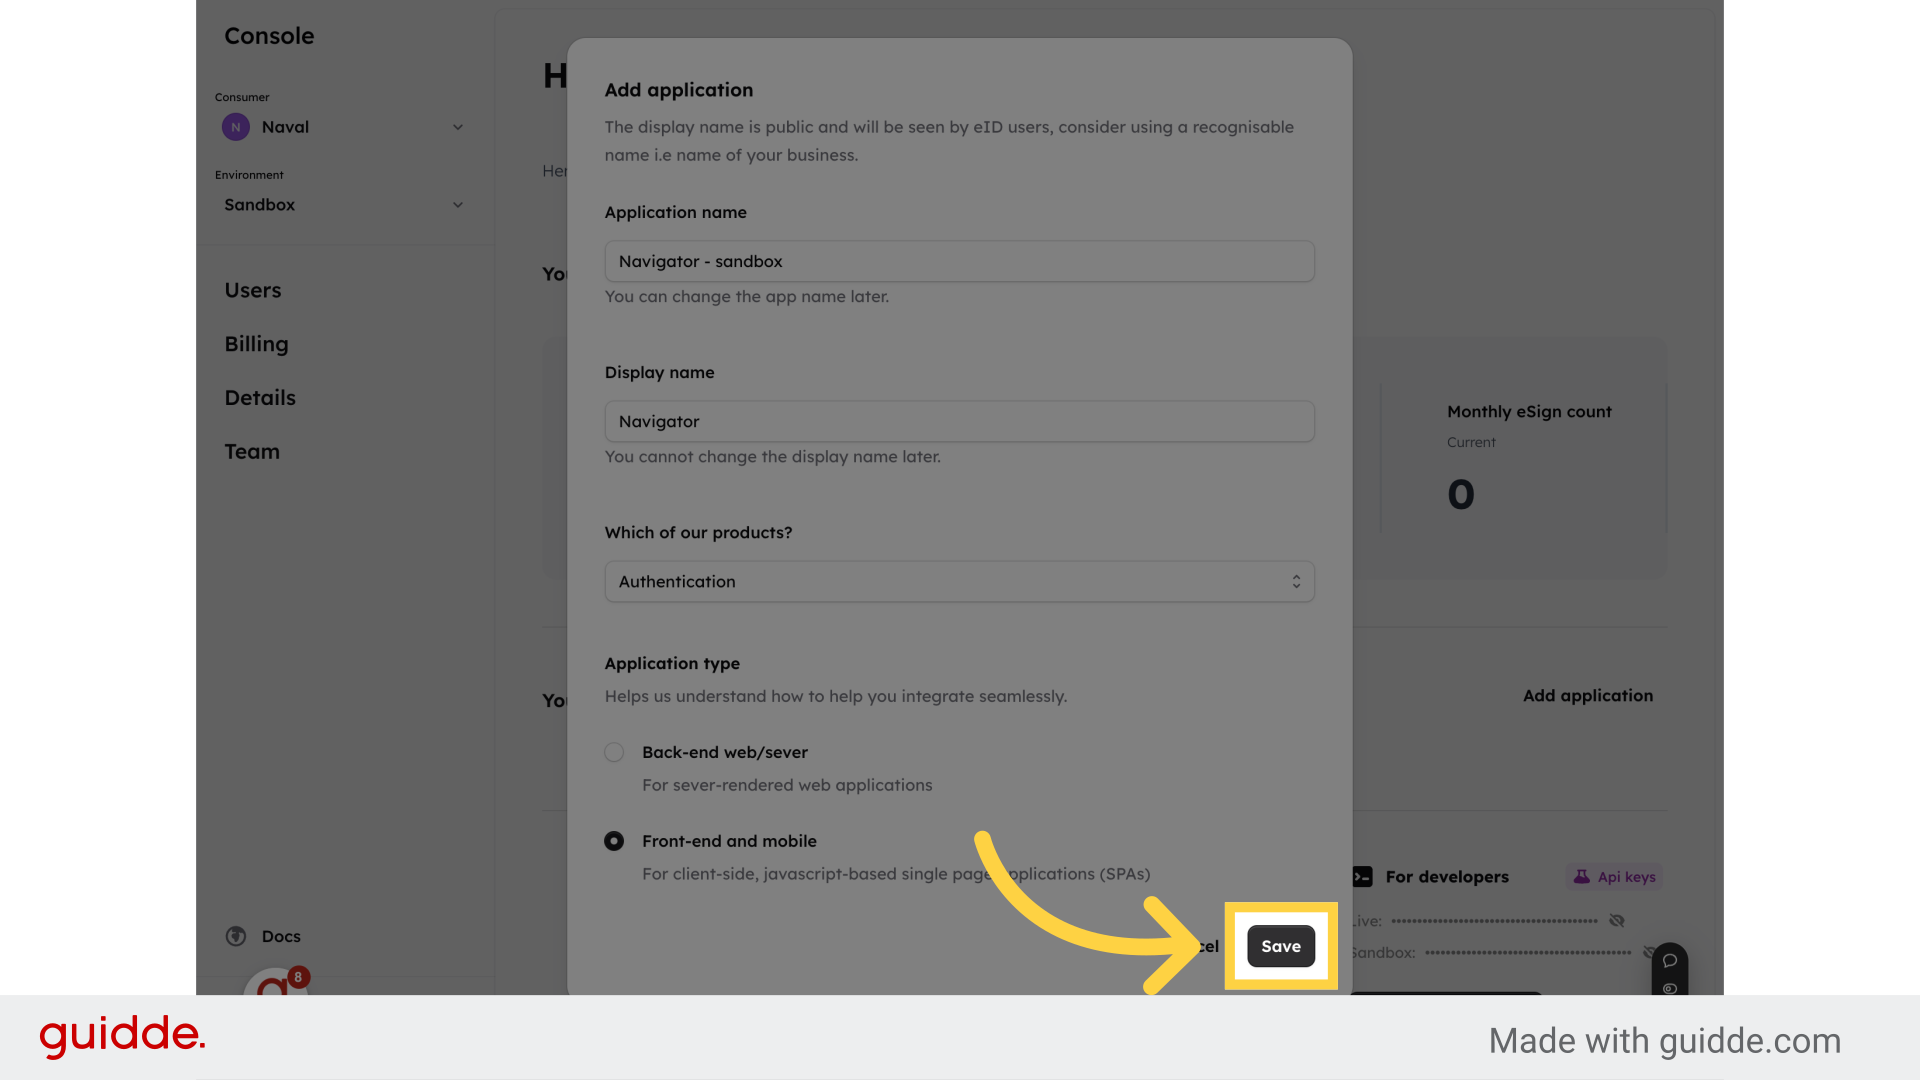
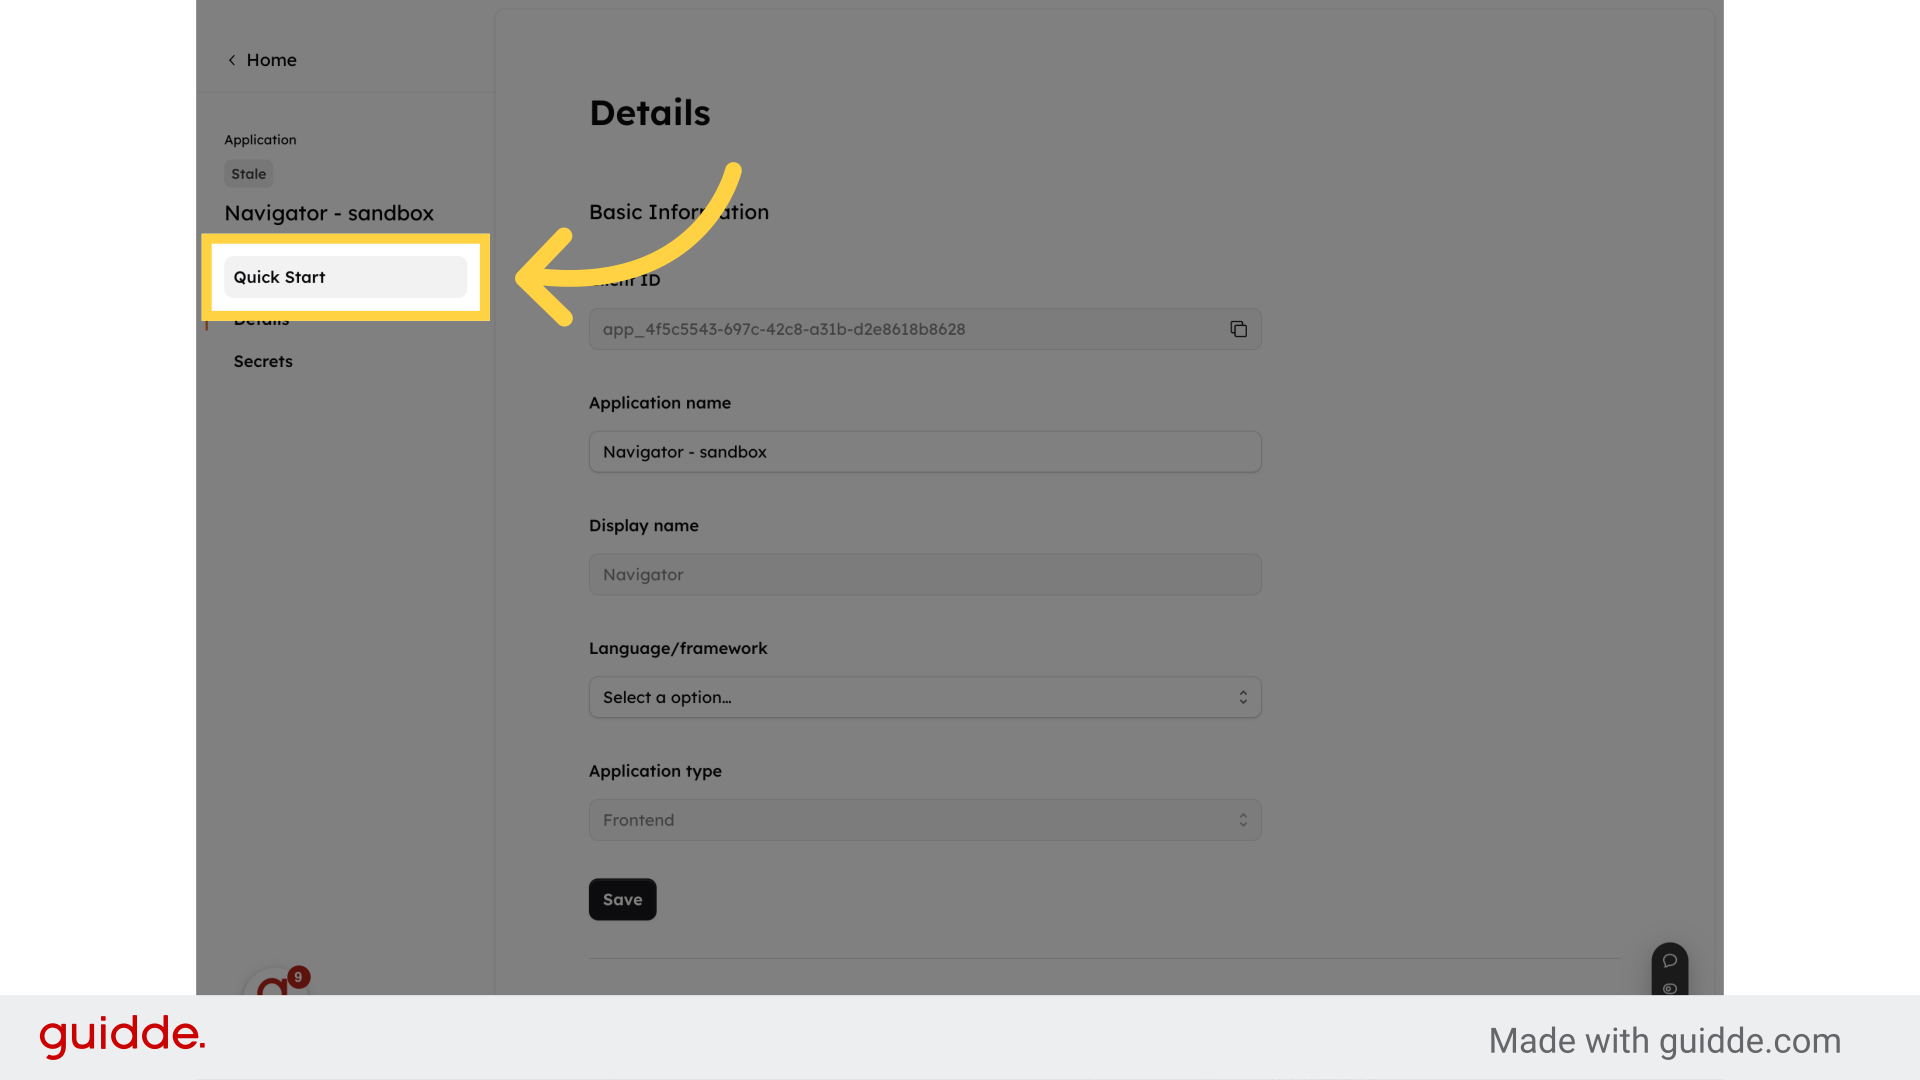
10. Click "Quick Start"
Access the Quick Start guide to begin setting up your application efficiently
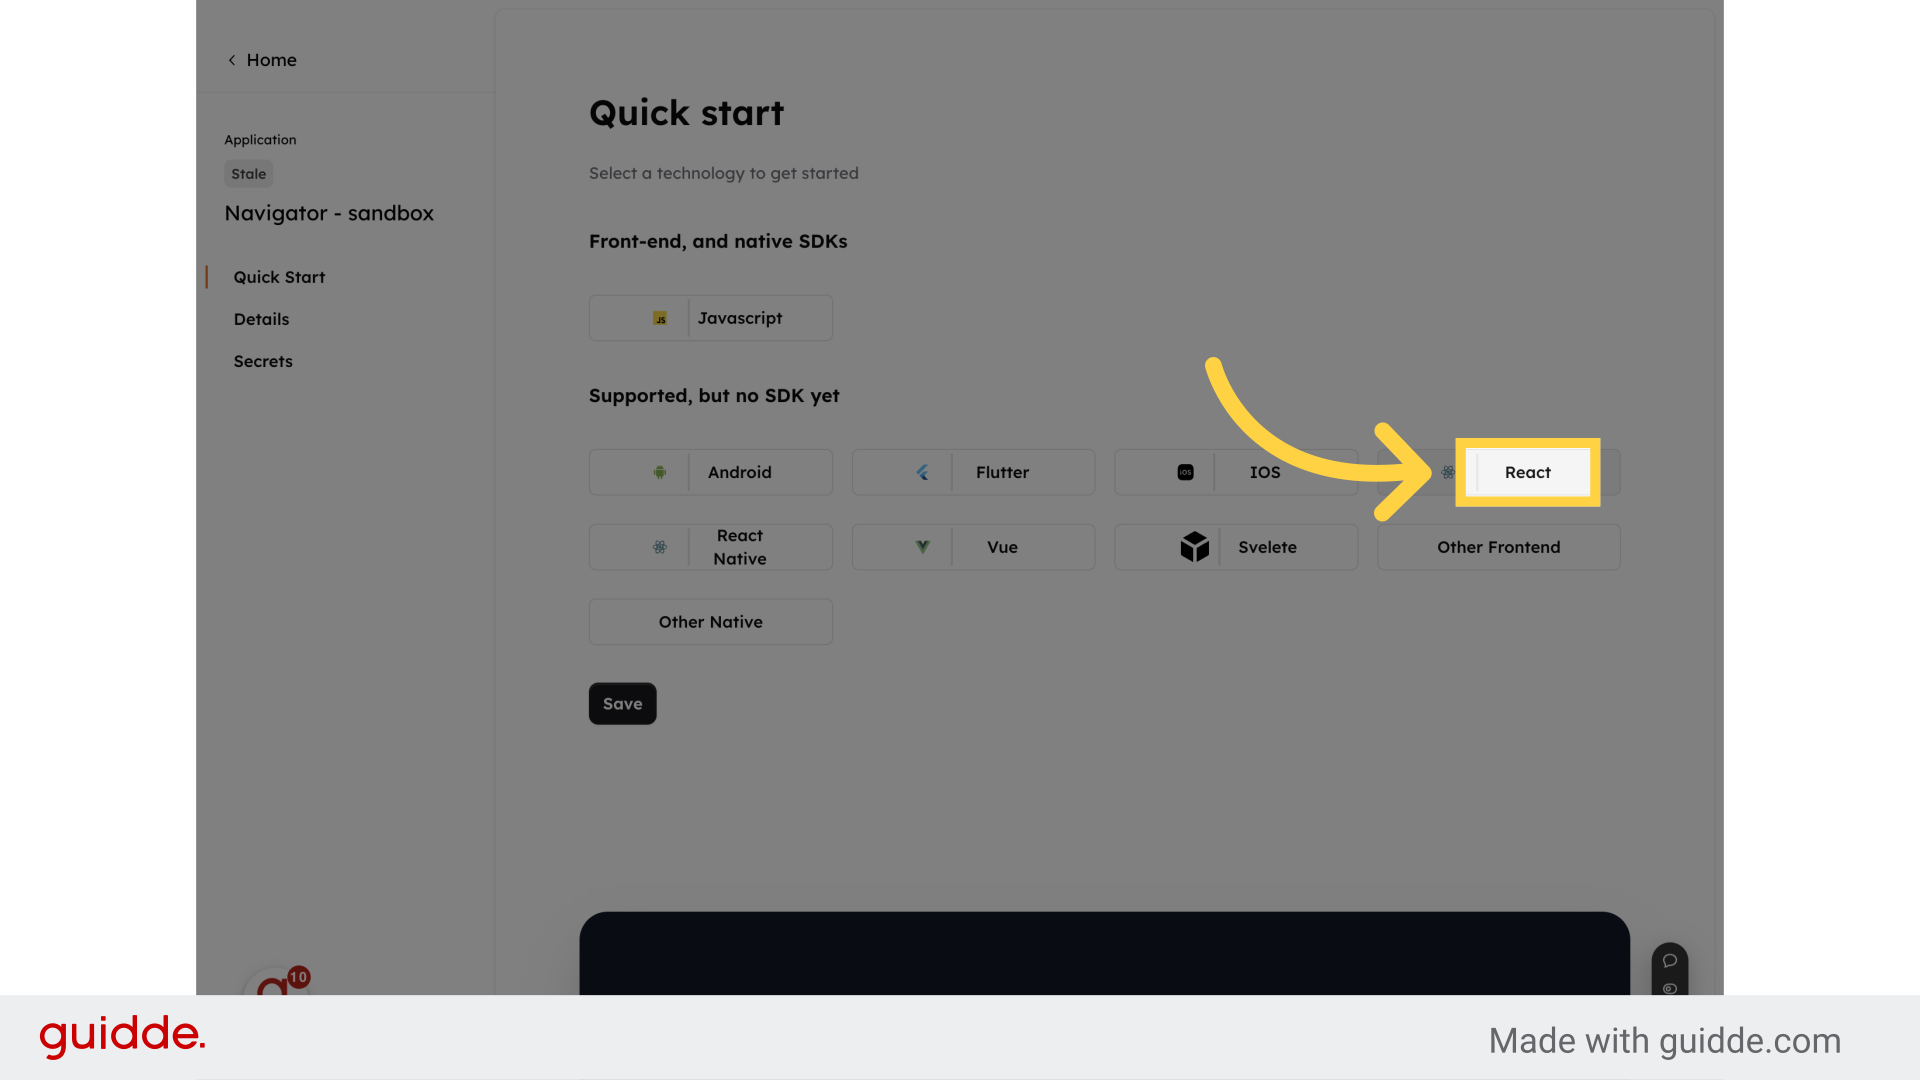
11. Select a technology
Select the React framework for your application development by clicking on "React
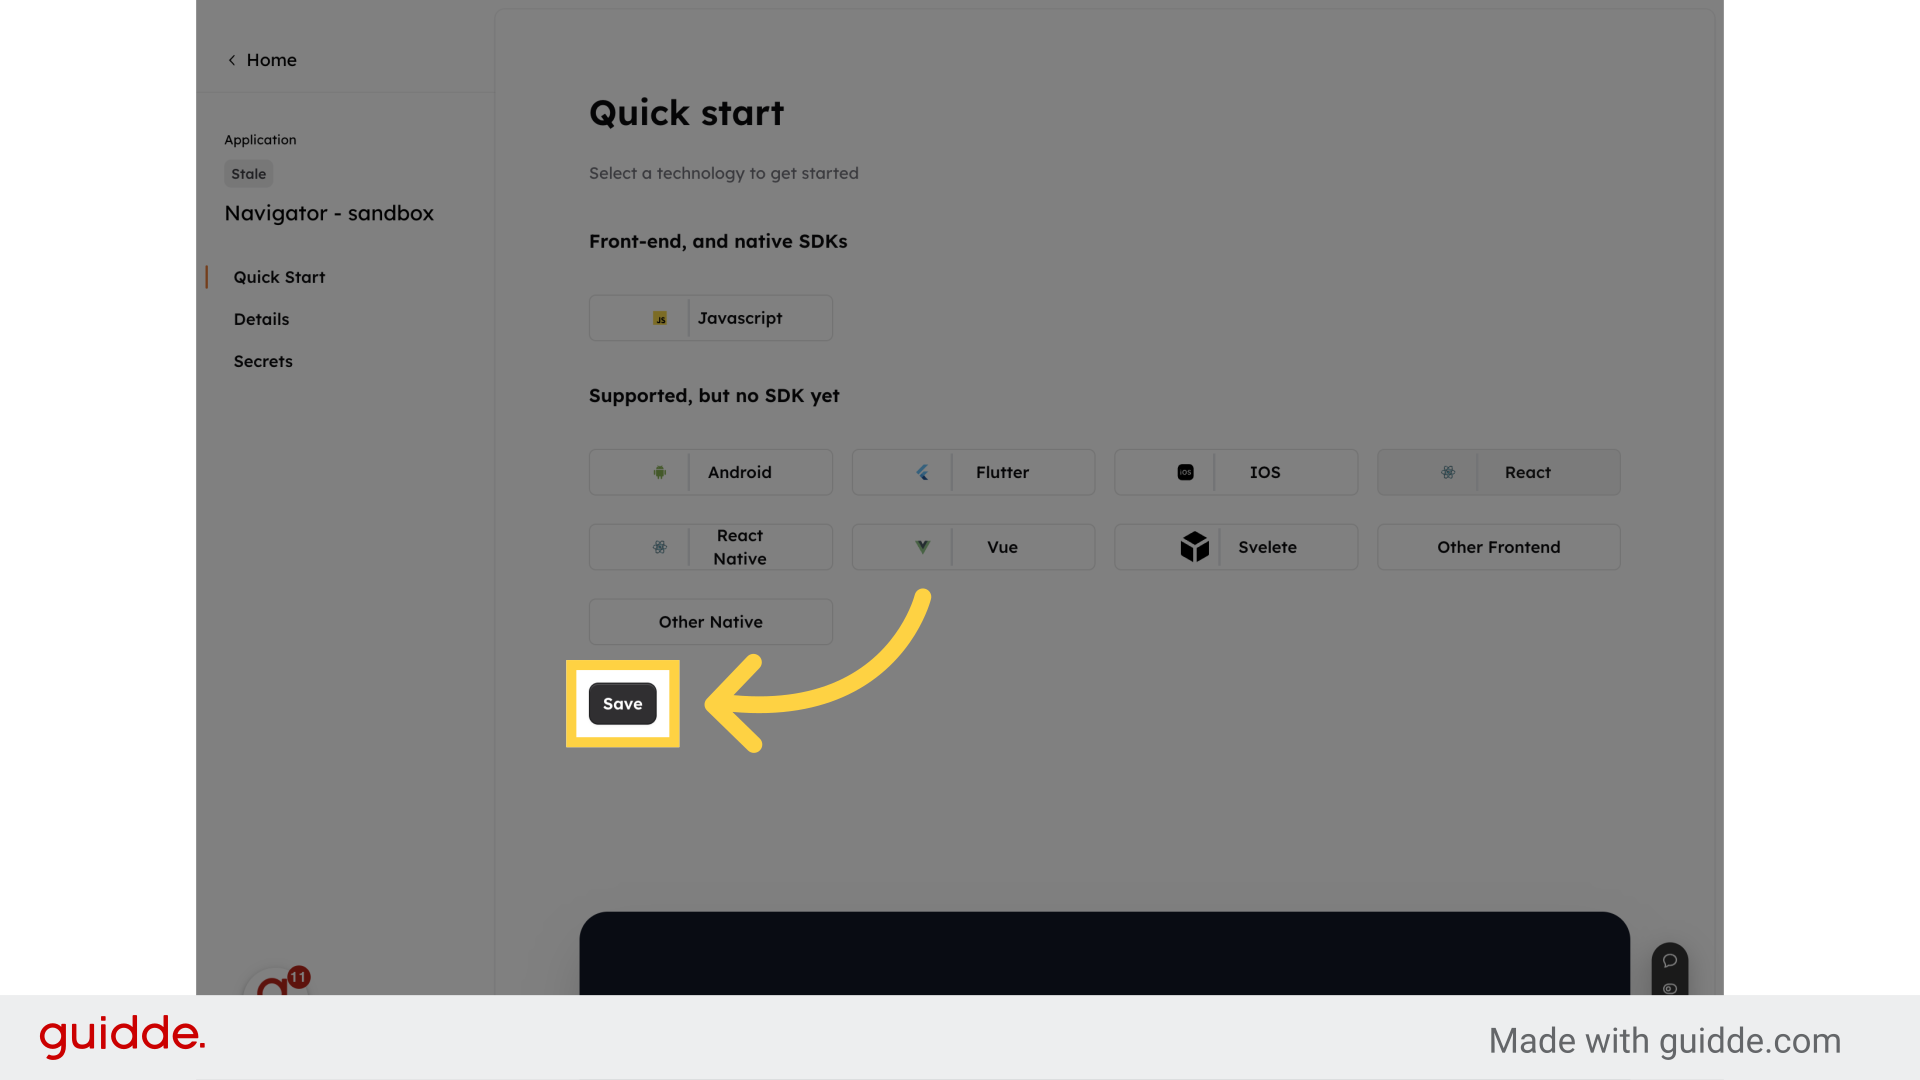
12. Click "Save"
Save any additional changes or configurations by clicking on "Save
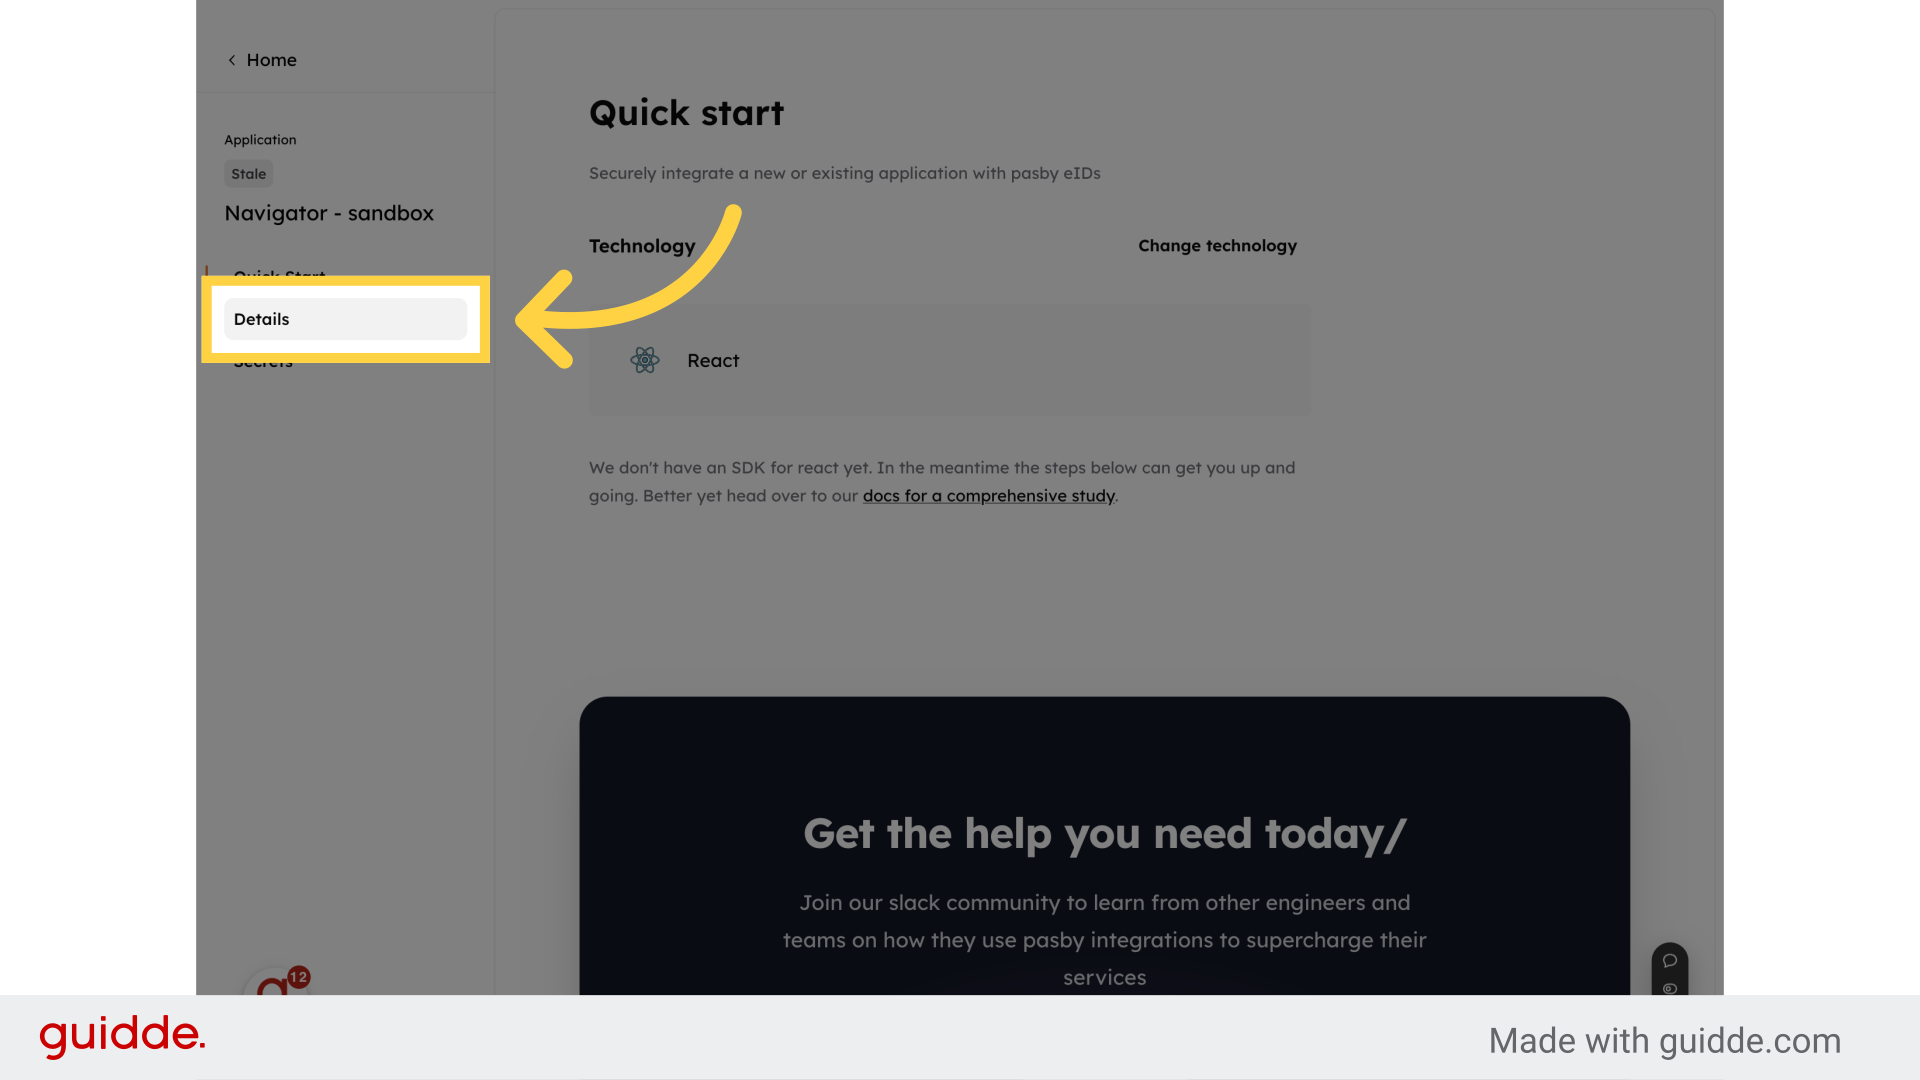
13. Click "Details"
View and modify the details of your application by clicking on "Details
This guide covered the comprehensive process of creating an app on pasby's console, including setting up application details, choosing product functionalities, and selecting frameworks.
